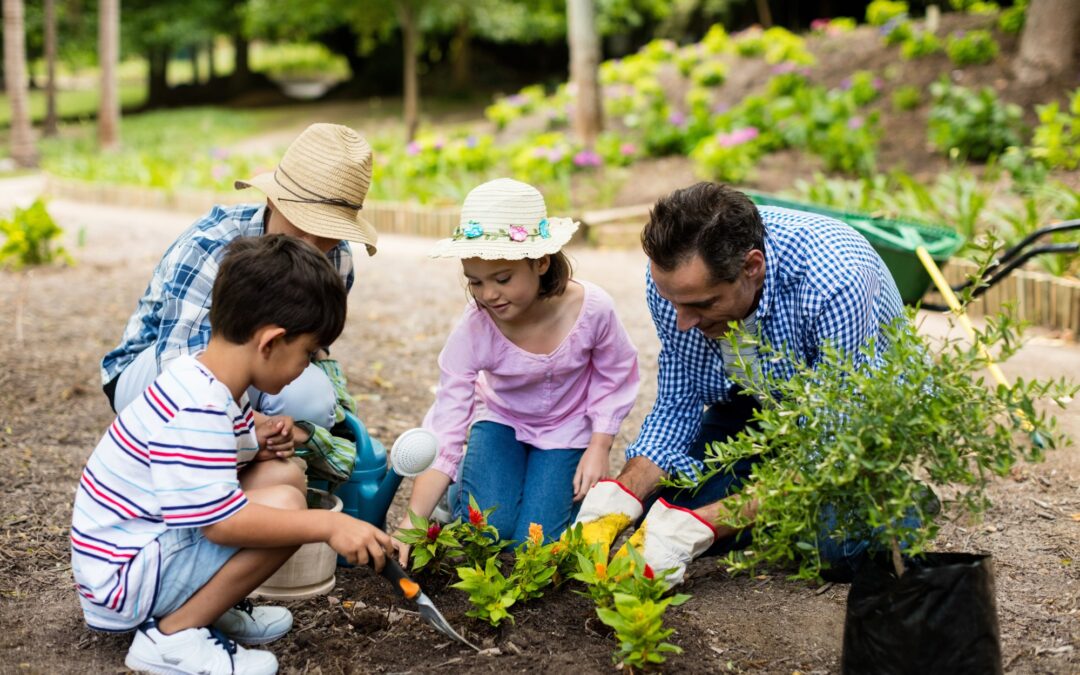
Growing Herbs in the Winter: How to Channel Mother Nature Every Month of the Year
We’ve all been there: You feel like ‘Mother Nature,’ nurturing your beautifully lush plants through the Spring, Summer, and Fall. And then, “Presto!” It all changes: Suddenly, you have stringy, soggy, sad, wilty plants that make you feel more like the ‘Grim Reaper.’ You’ve kept the same routine… what possibly could have happened?
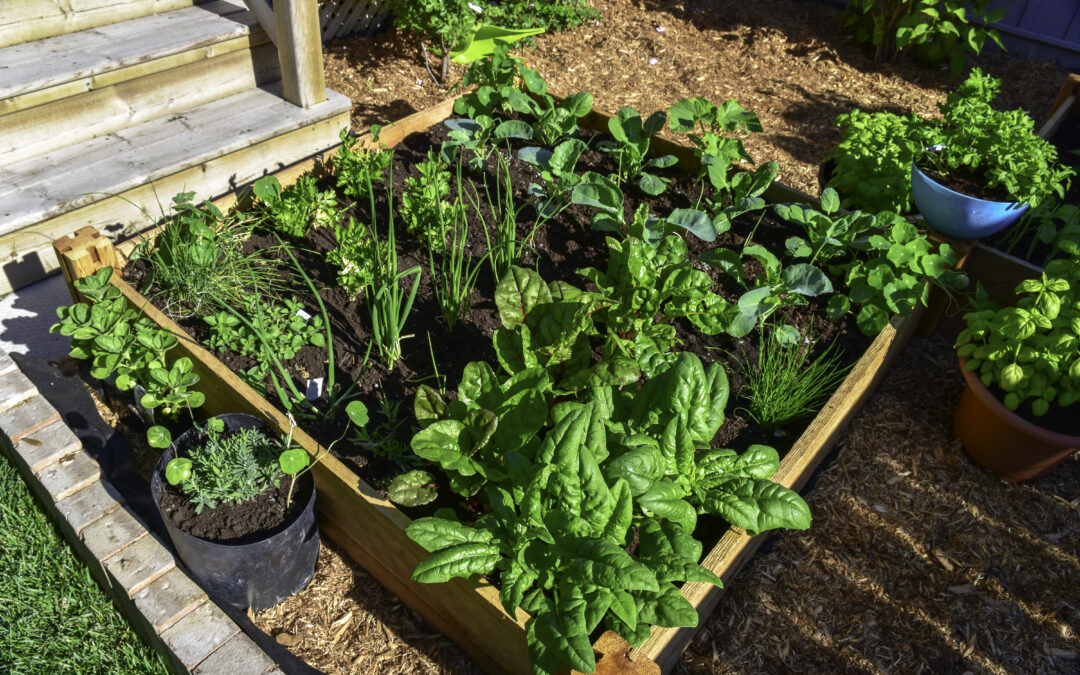
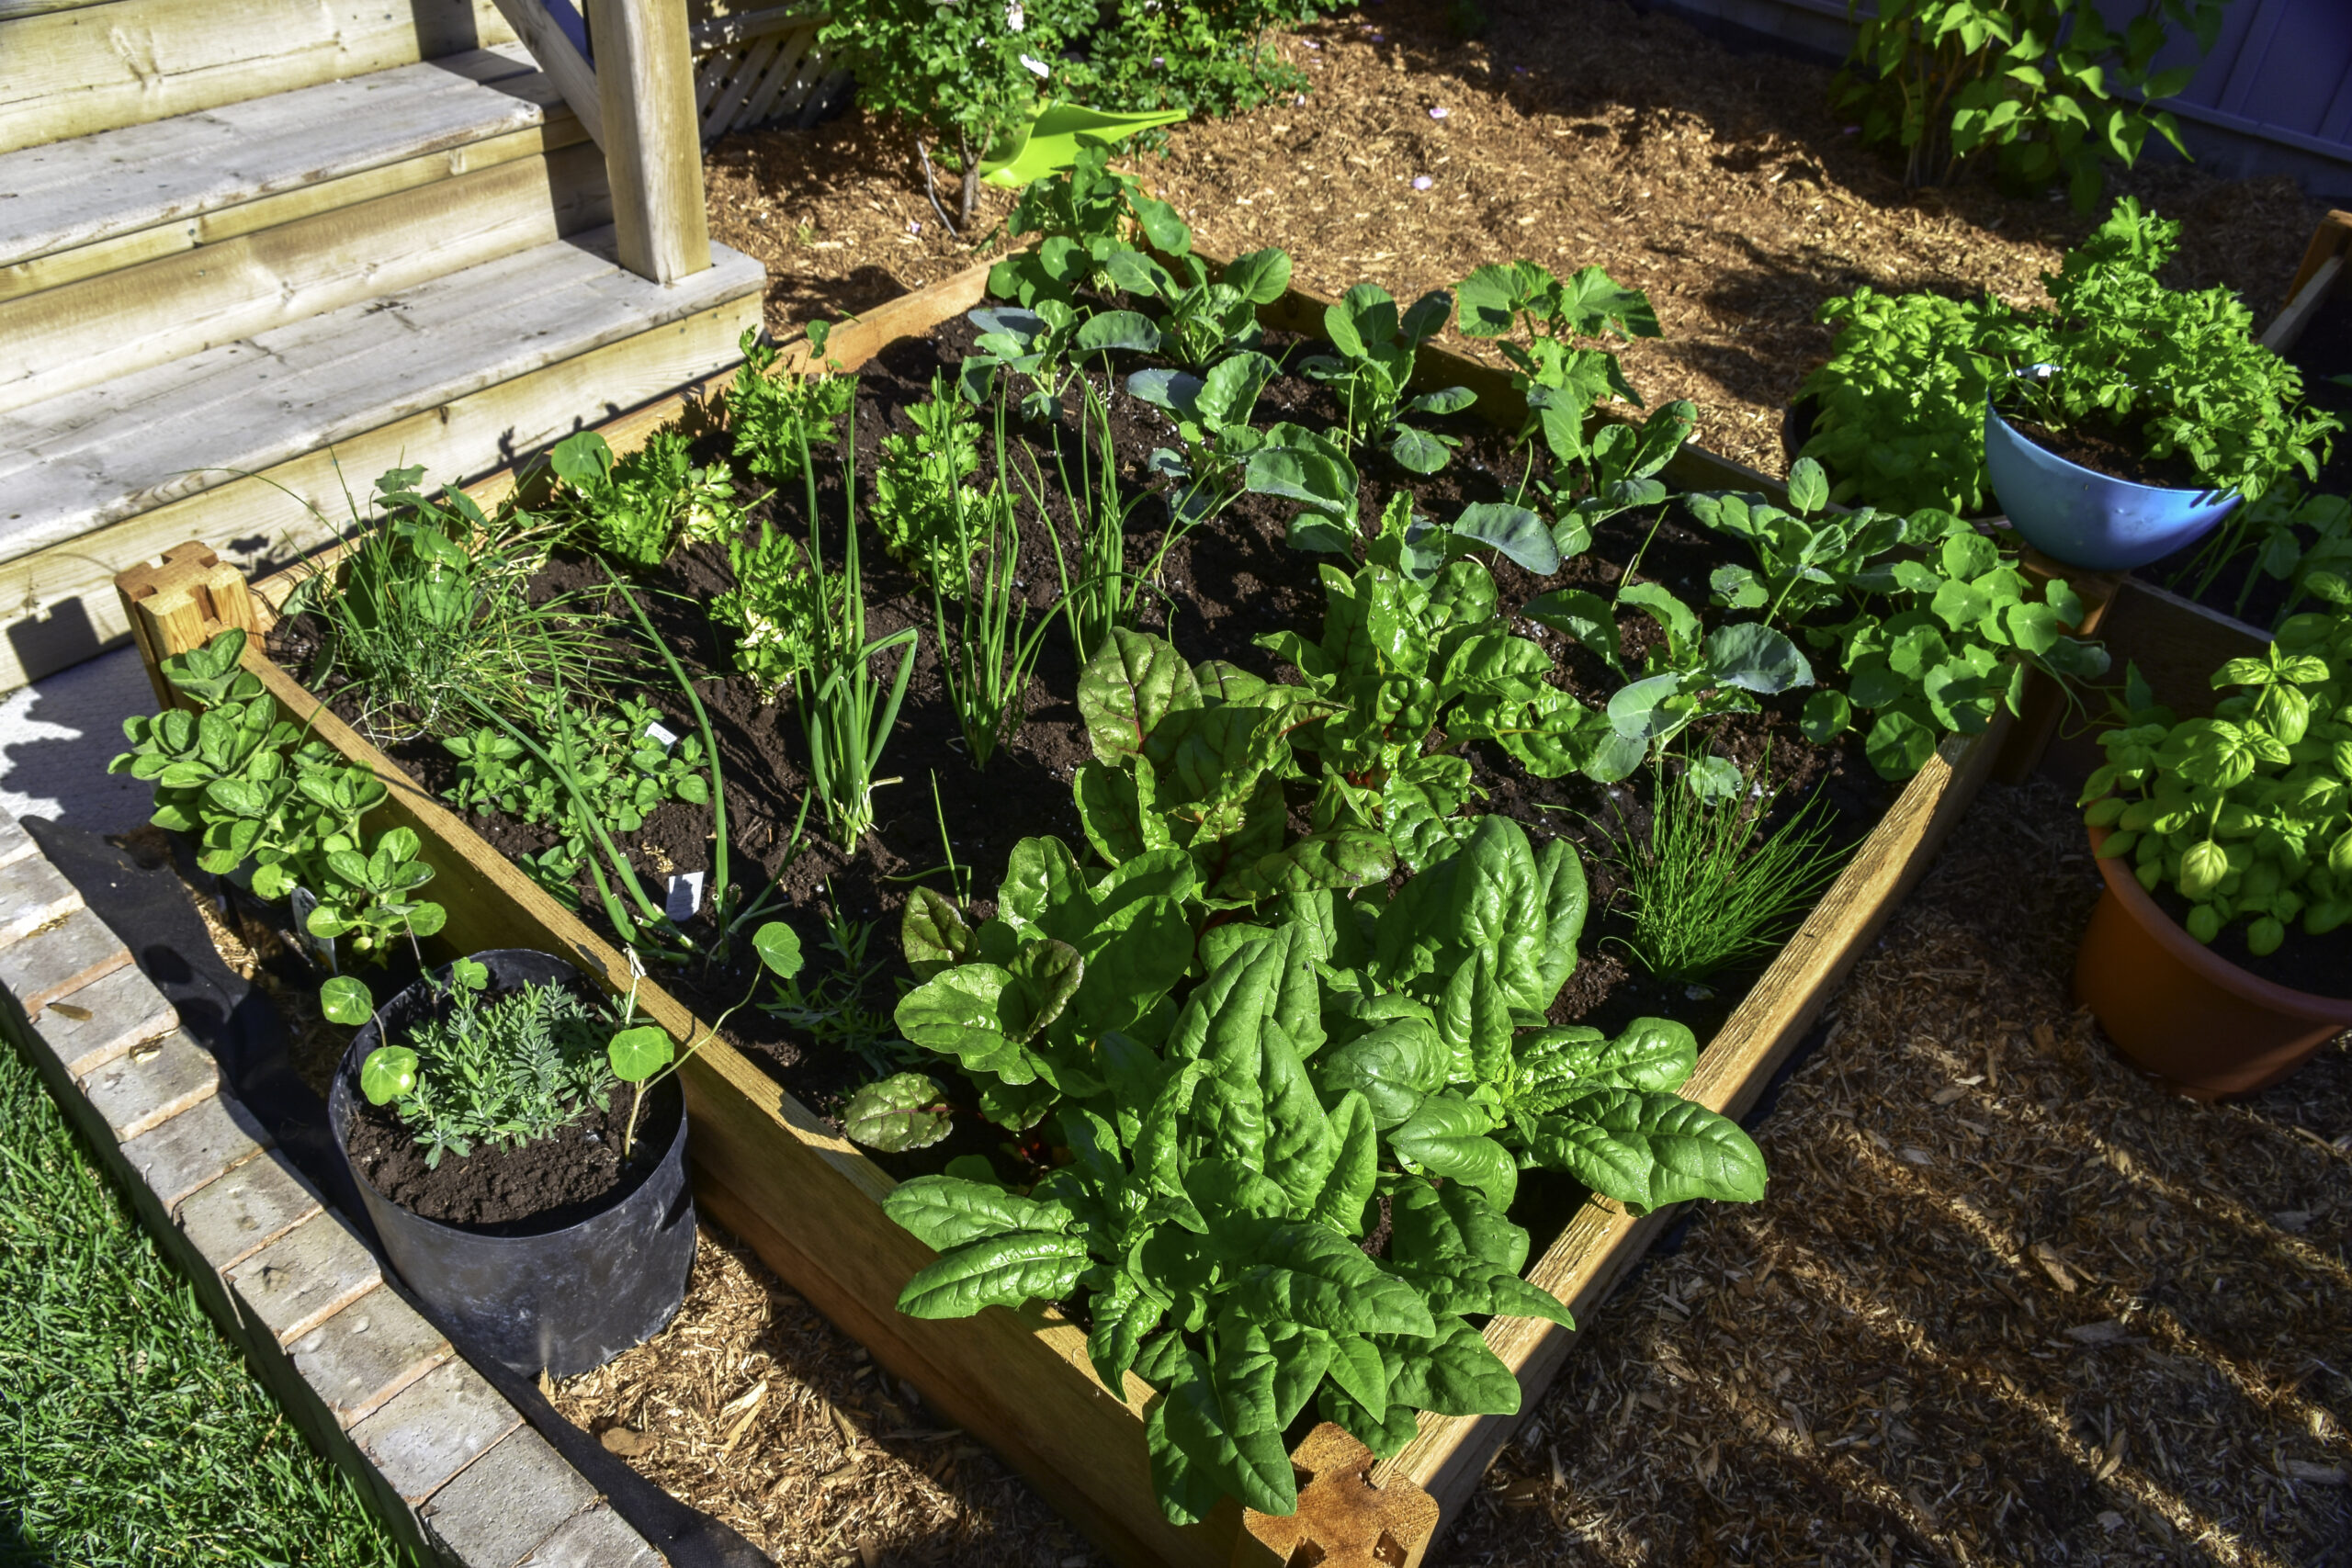
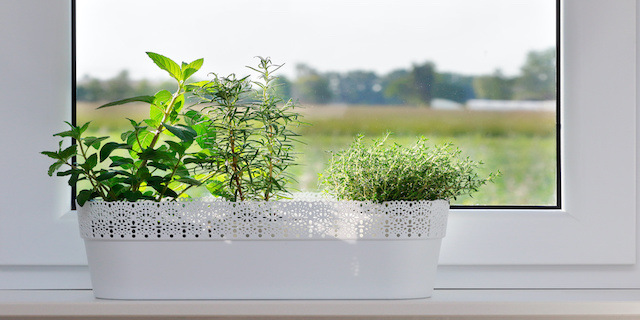
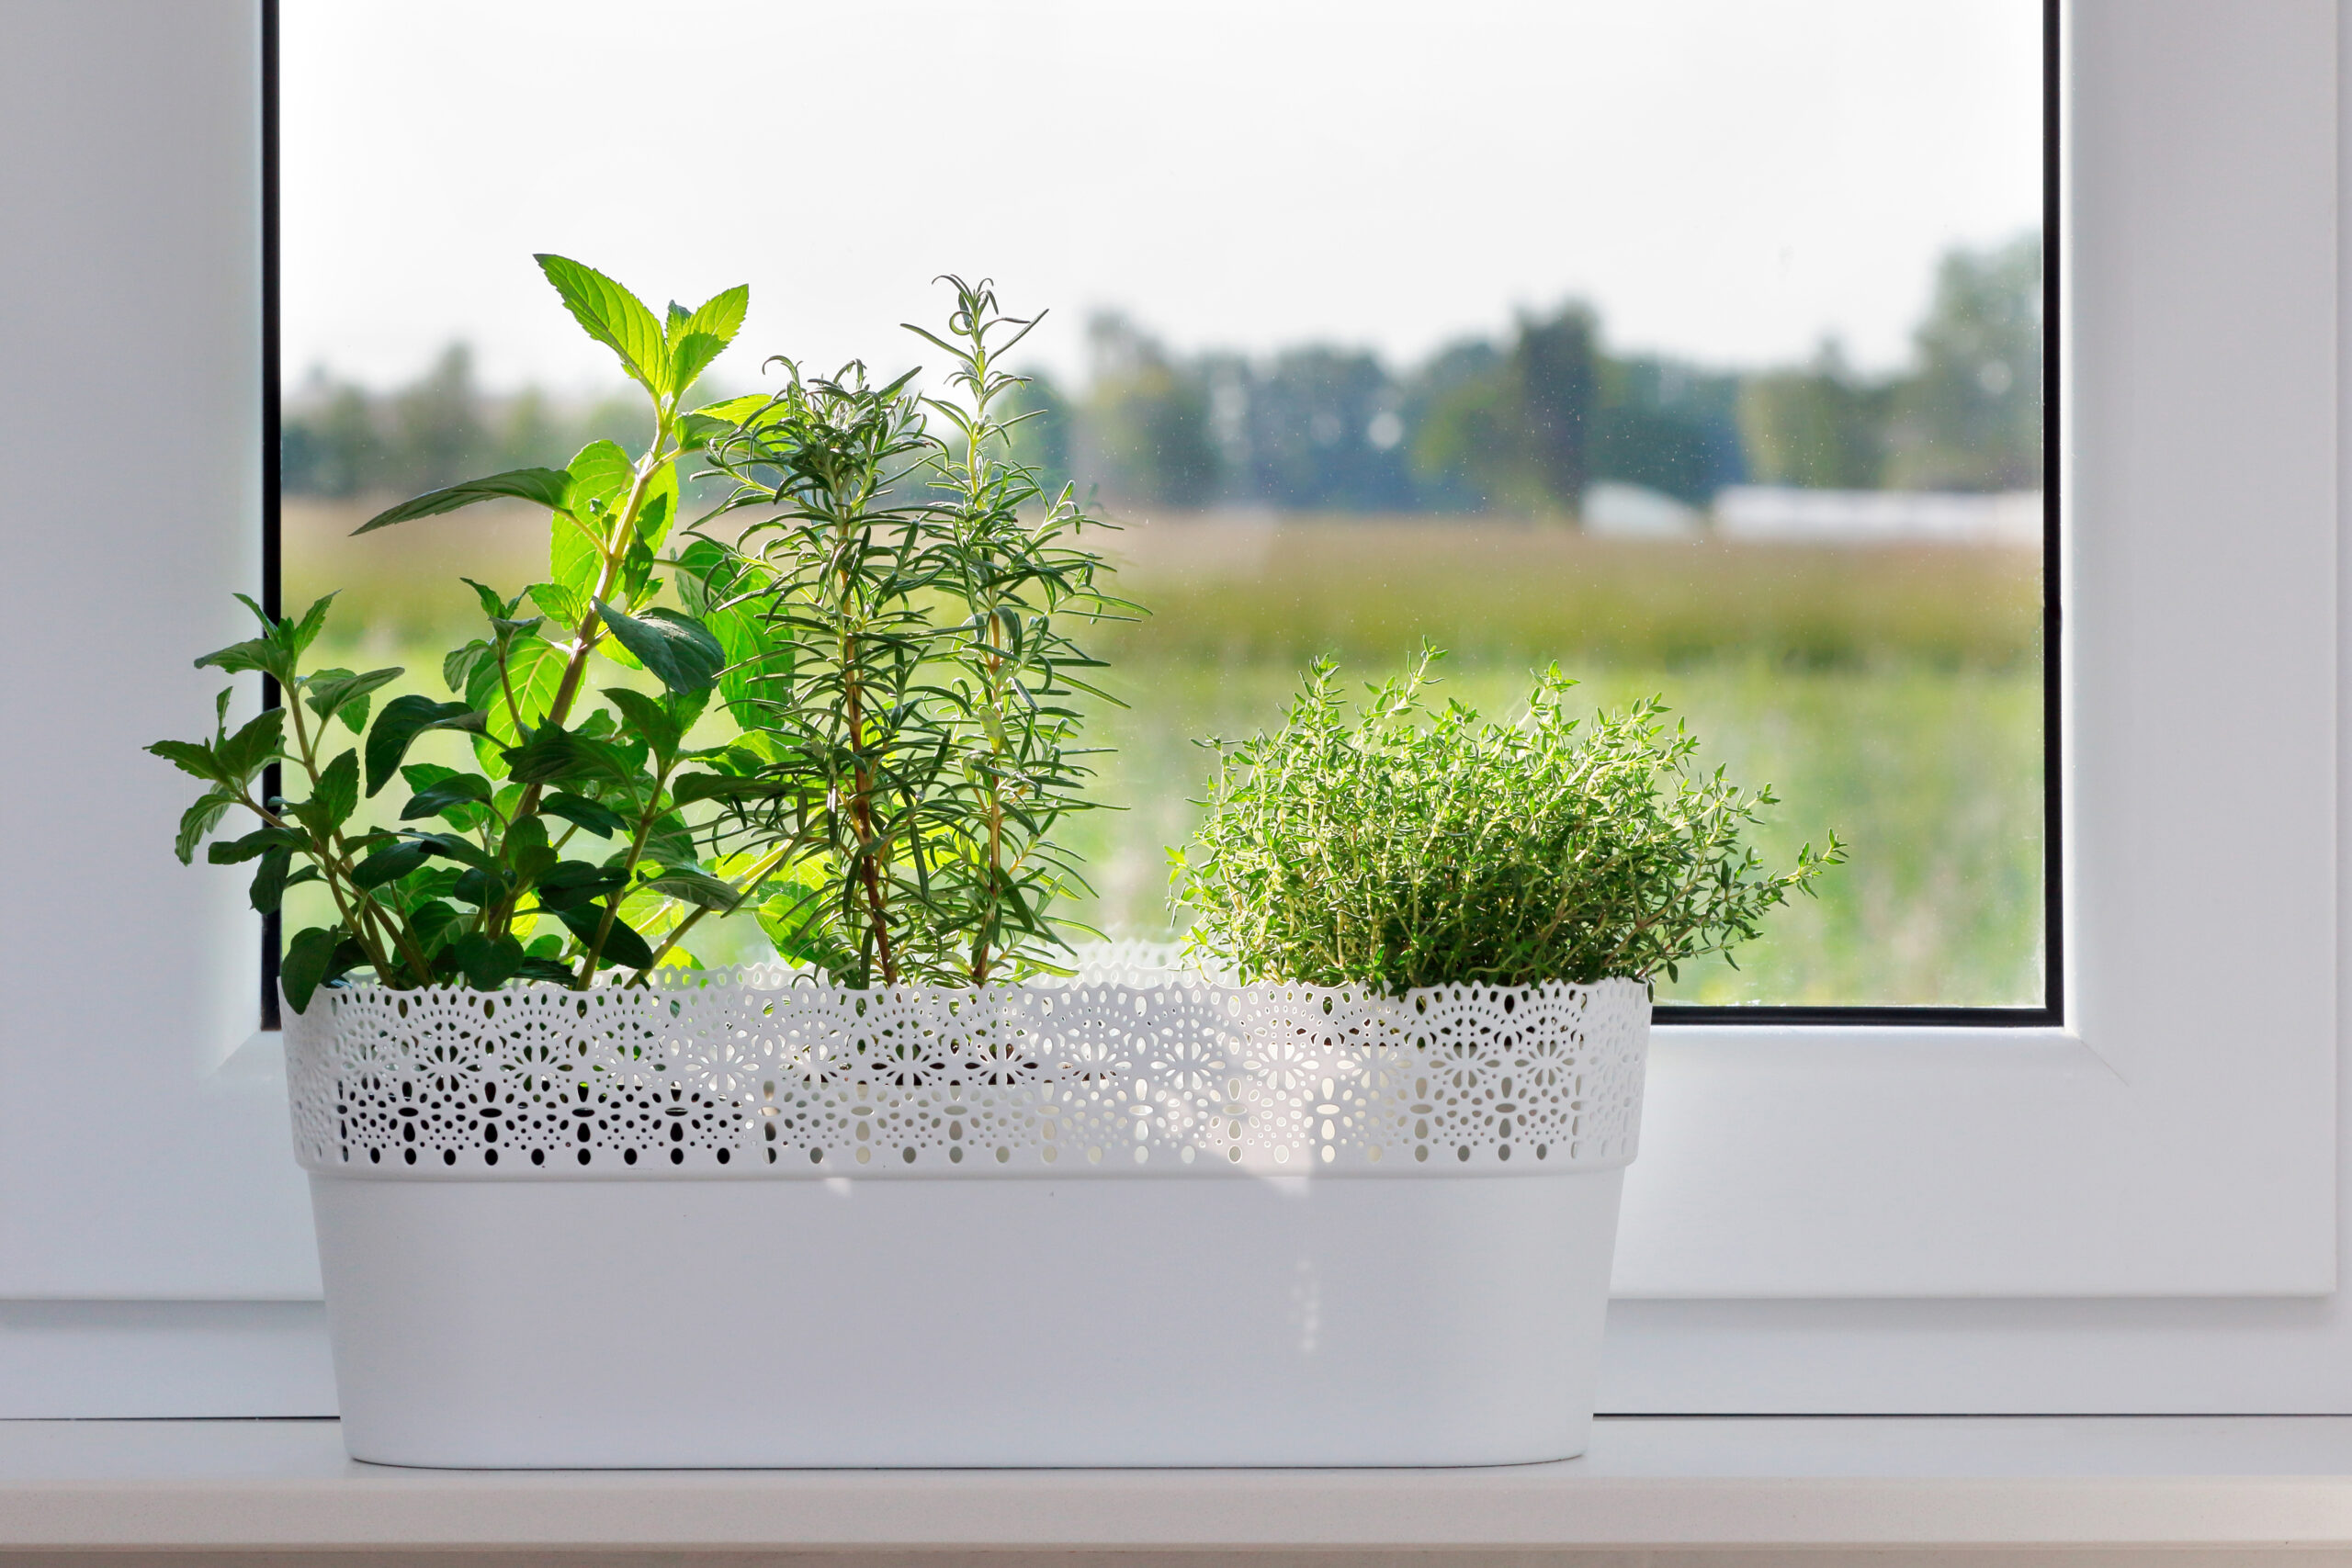
Whether you transplanted summer herbs into containers or purchased new herbs expressly for indoor growing, successful indoor gardening during the winter months can be a trip. Shorter days, soggy roots, and dry air are just a few of the challenges. How can you channel your inner ‘Mother Nature’ again?
Figure Out Your Goals
When it comes to maintaining your indoor container garden during the winter months, you have to assess what you want out of it. “Survival” is an obvious answer, but beyond that is: “Growth.”
The goal of “Growth” always sounds good! However, most plants naturally use the winter months as a rest period; changing your herbs environment to continue growing foliage, will give them ‘burn out.’ Since they weren’t allowed to slow down, they won’t have much energy to expend during the next year. In fact, they will most likely need to be replaced the following spring.
If you want to go out with a ‘bang,’ enjoying as many herbs as you can eat in the winter months, “Growth” is a good goal. Rosemary, Bay Trees, and other heartier herbs can withstand the extra pressure. But, if you have dreams of continuously growing your same basil plant without giving it a break, your vision will quickly fade. If you’re trying to preserve your plant for the next spring, simple “Survival” is the goal for you.
The question might arise: Why do I have to pick one? Growing plants require more light and water compared to those that are allowed to experience natural dormancy.
Getting Sufficient Light for Growth or Dormancy
Your herbs automatically understand that they will receive less light in the winter; that’s why they stop growing. However, this doesn’t mean that their current location will provide enough light to support life in dormancy. To survive the winter indoors, most herbs require hours of direct sunlight.
If you’ve decided to encourage your herb plants to continue growing during their natural dormancy, you must give them their prescribed amount of summer light. For many varieties (like Basil and Rosemary), this means 6-8 hours of sunbathing.
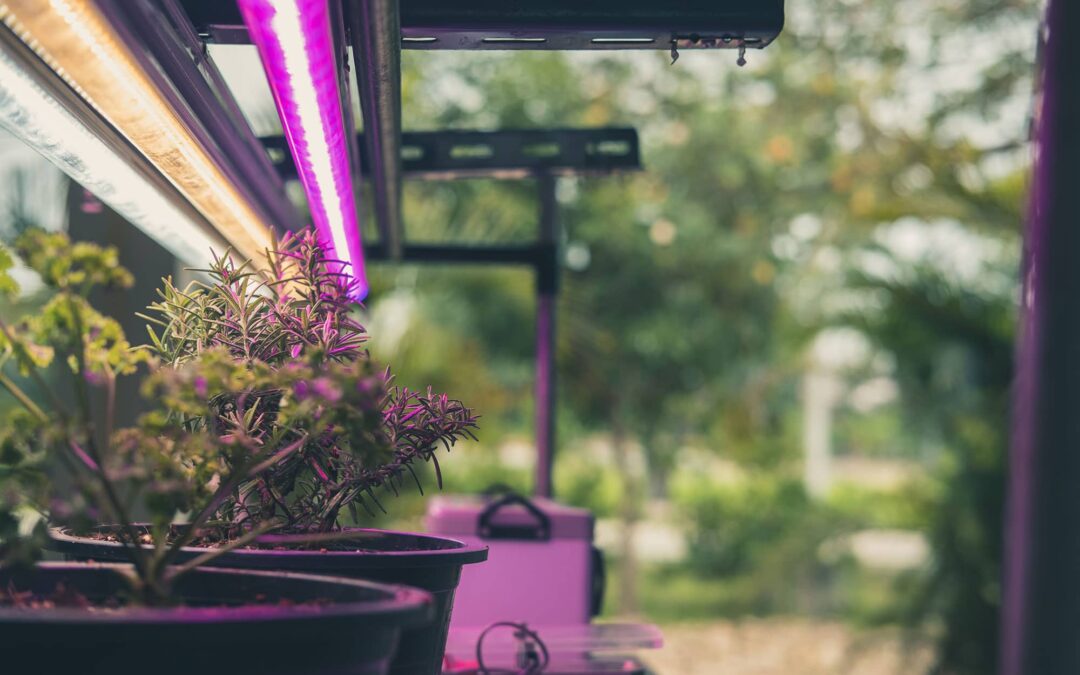
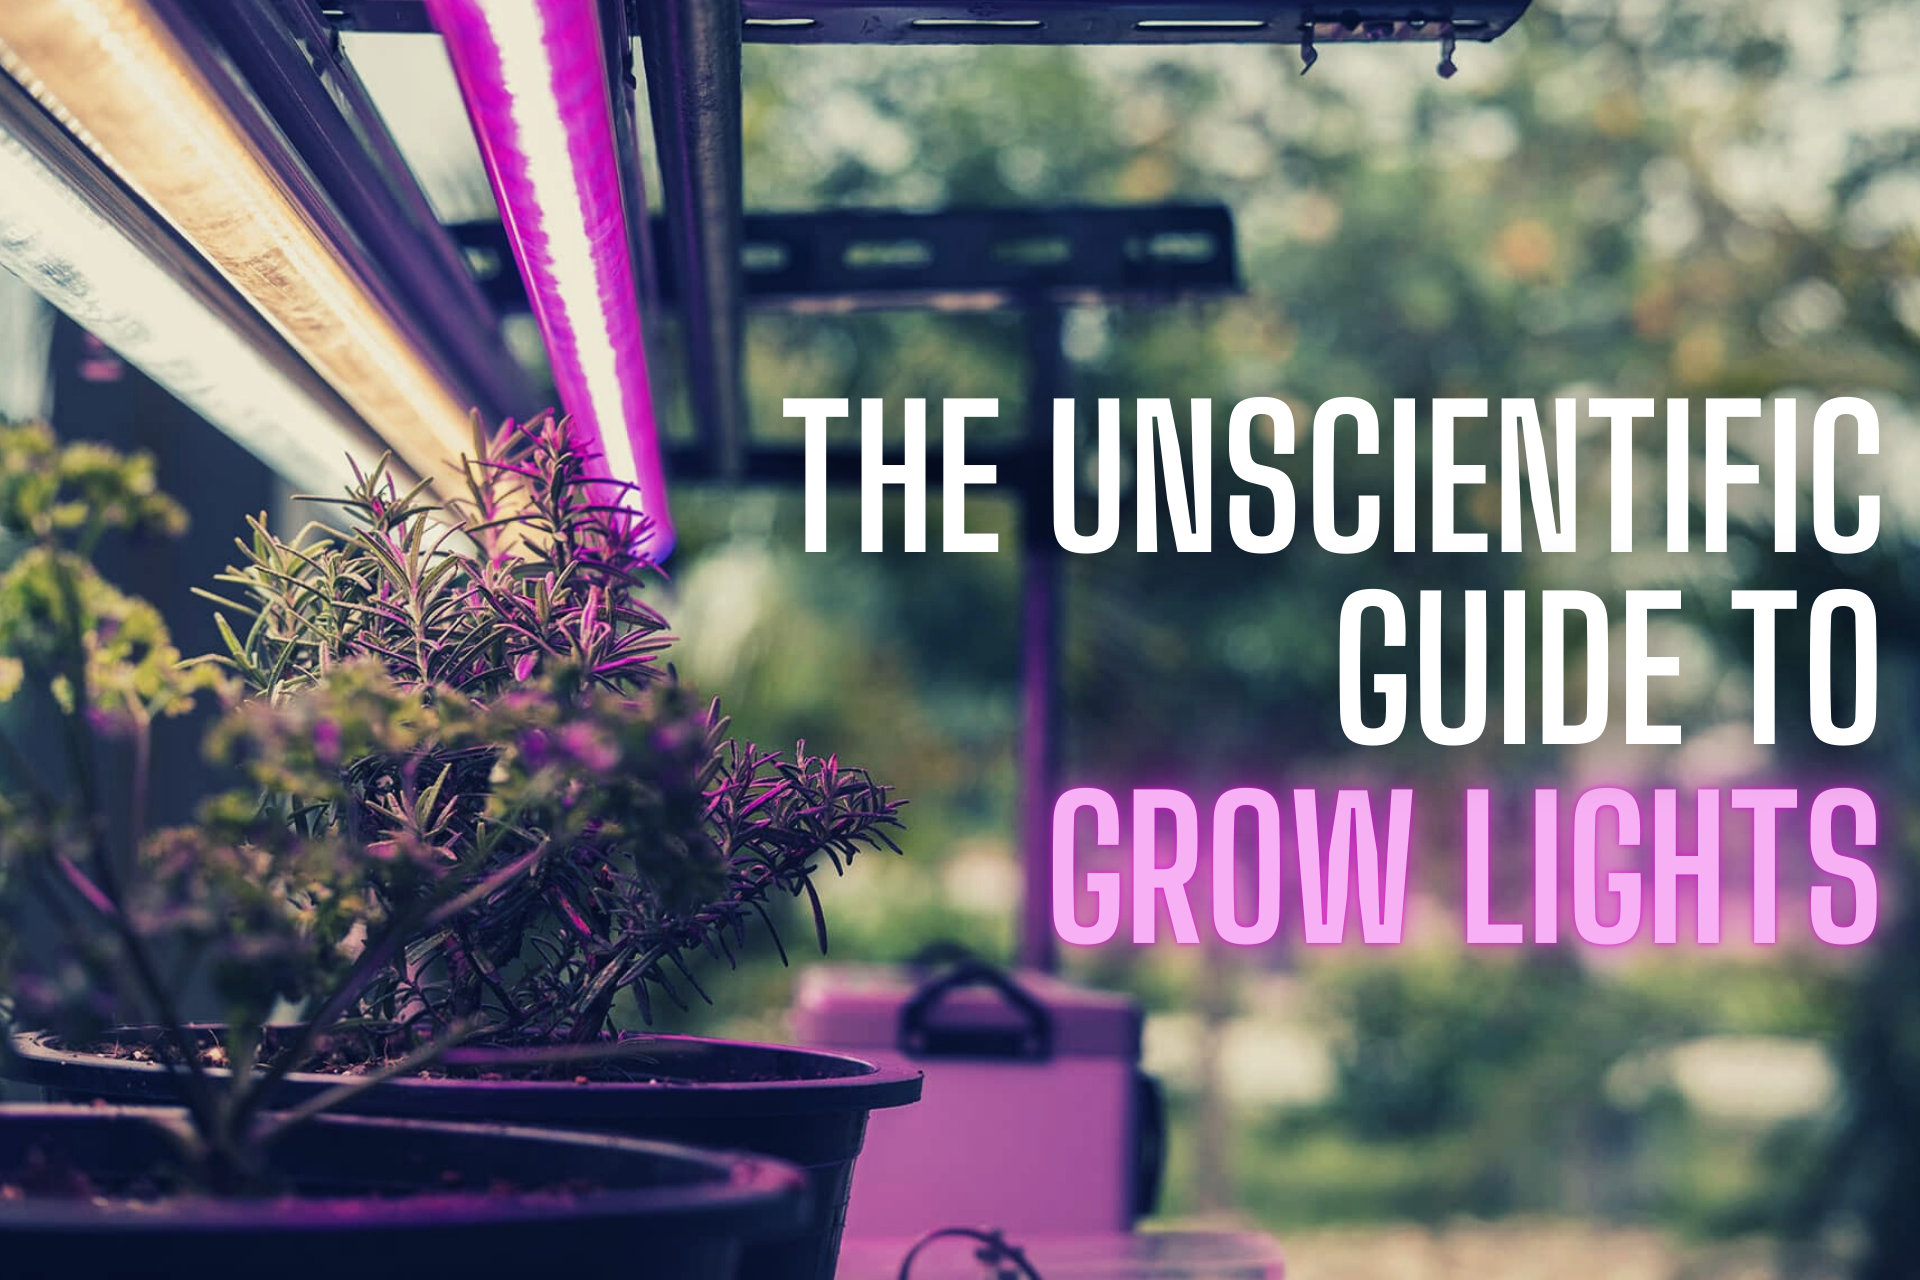
A simple solution is to move your plant to a sunnier location in your home. But, if you haven’t been blessed with a magnificent sunroom or giant patio doors, it may be time to think about getting grow lights!
Selecting an artificial grow light may seem daunting. Still, the benefits are undeniable: you are in control! Turn the lamp on for a few extra hours a day to boost your herb’s chances of survival. Or stick to a more intense regimen to encourage consistent growth. The on-and-off switch is in your hands!
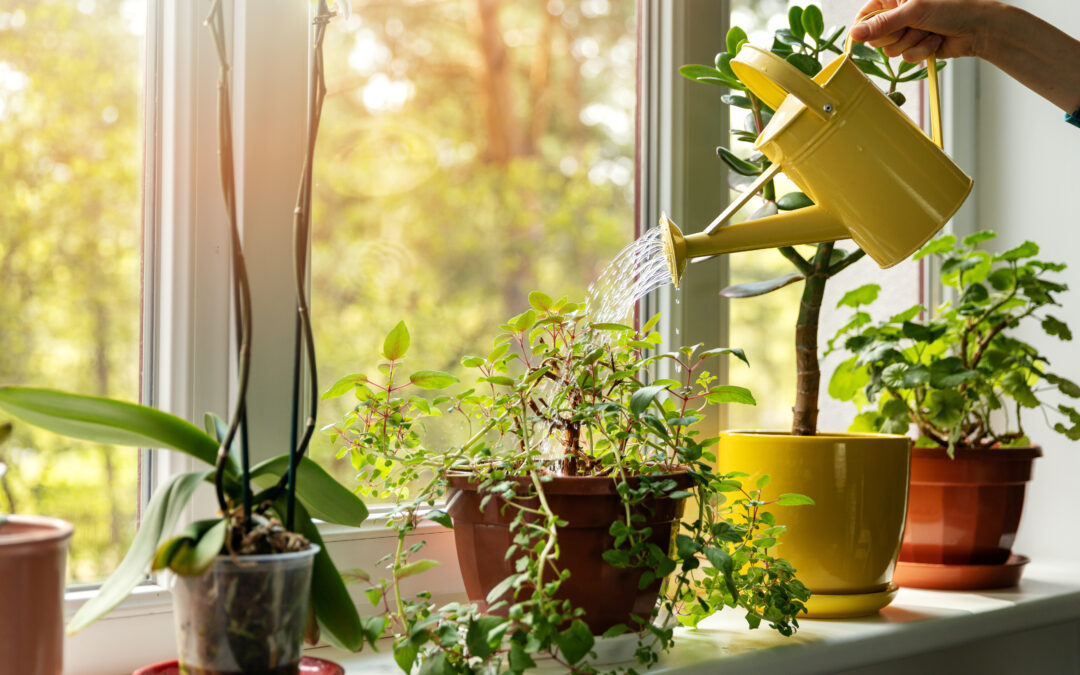
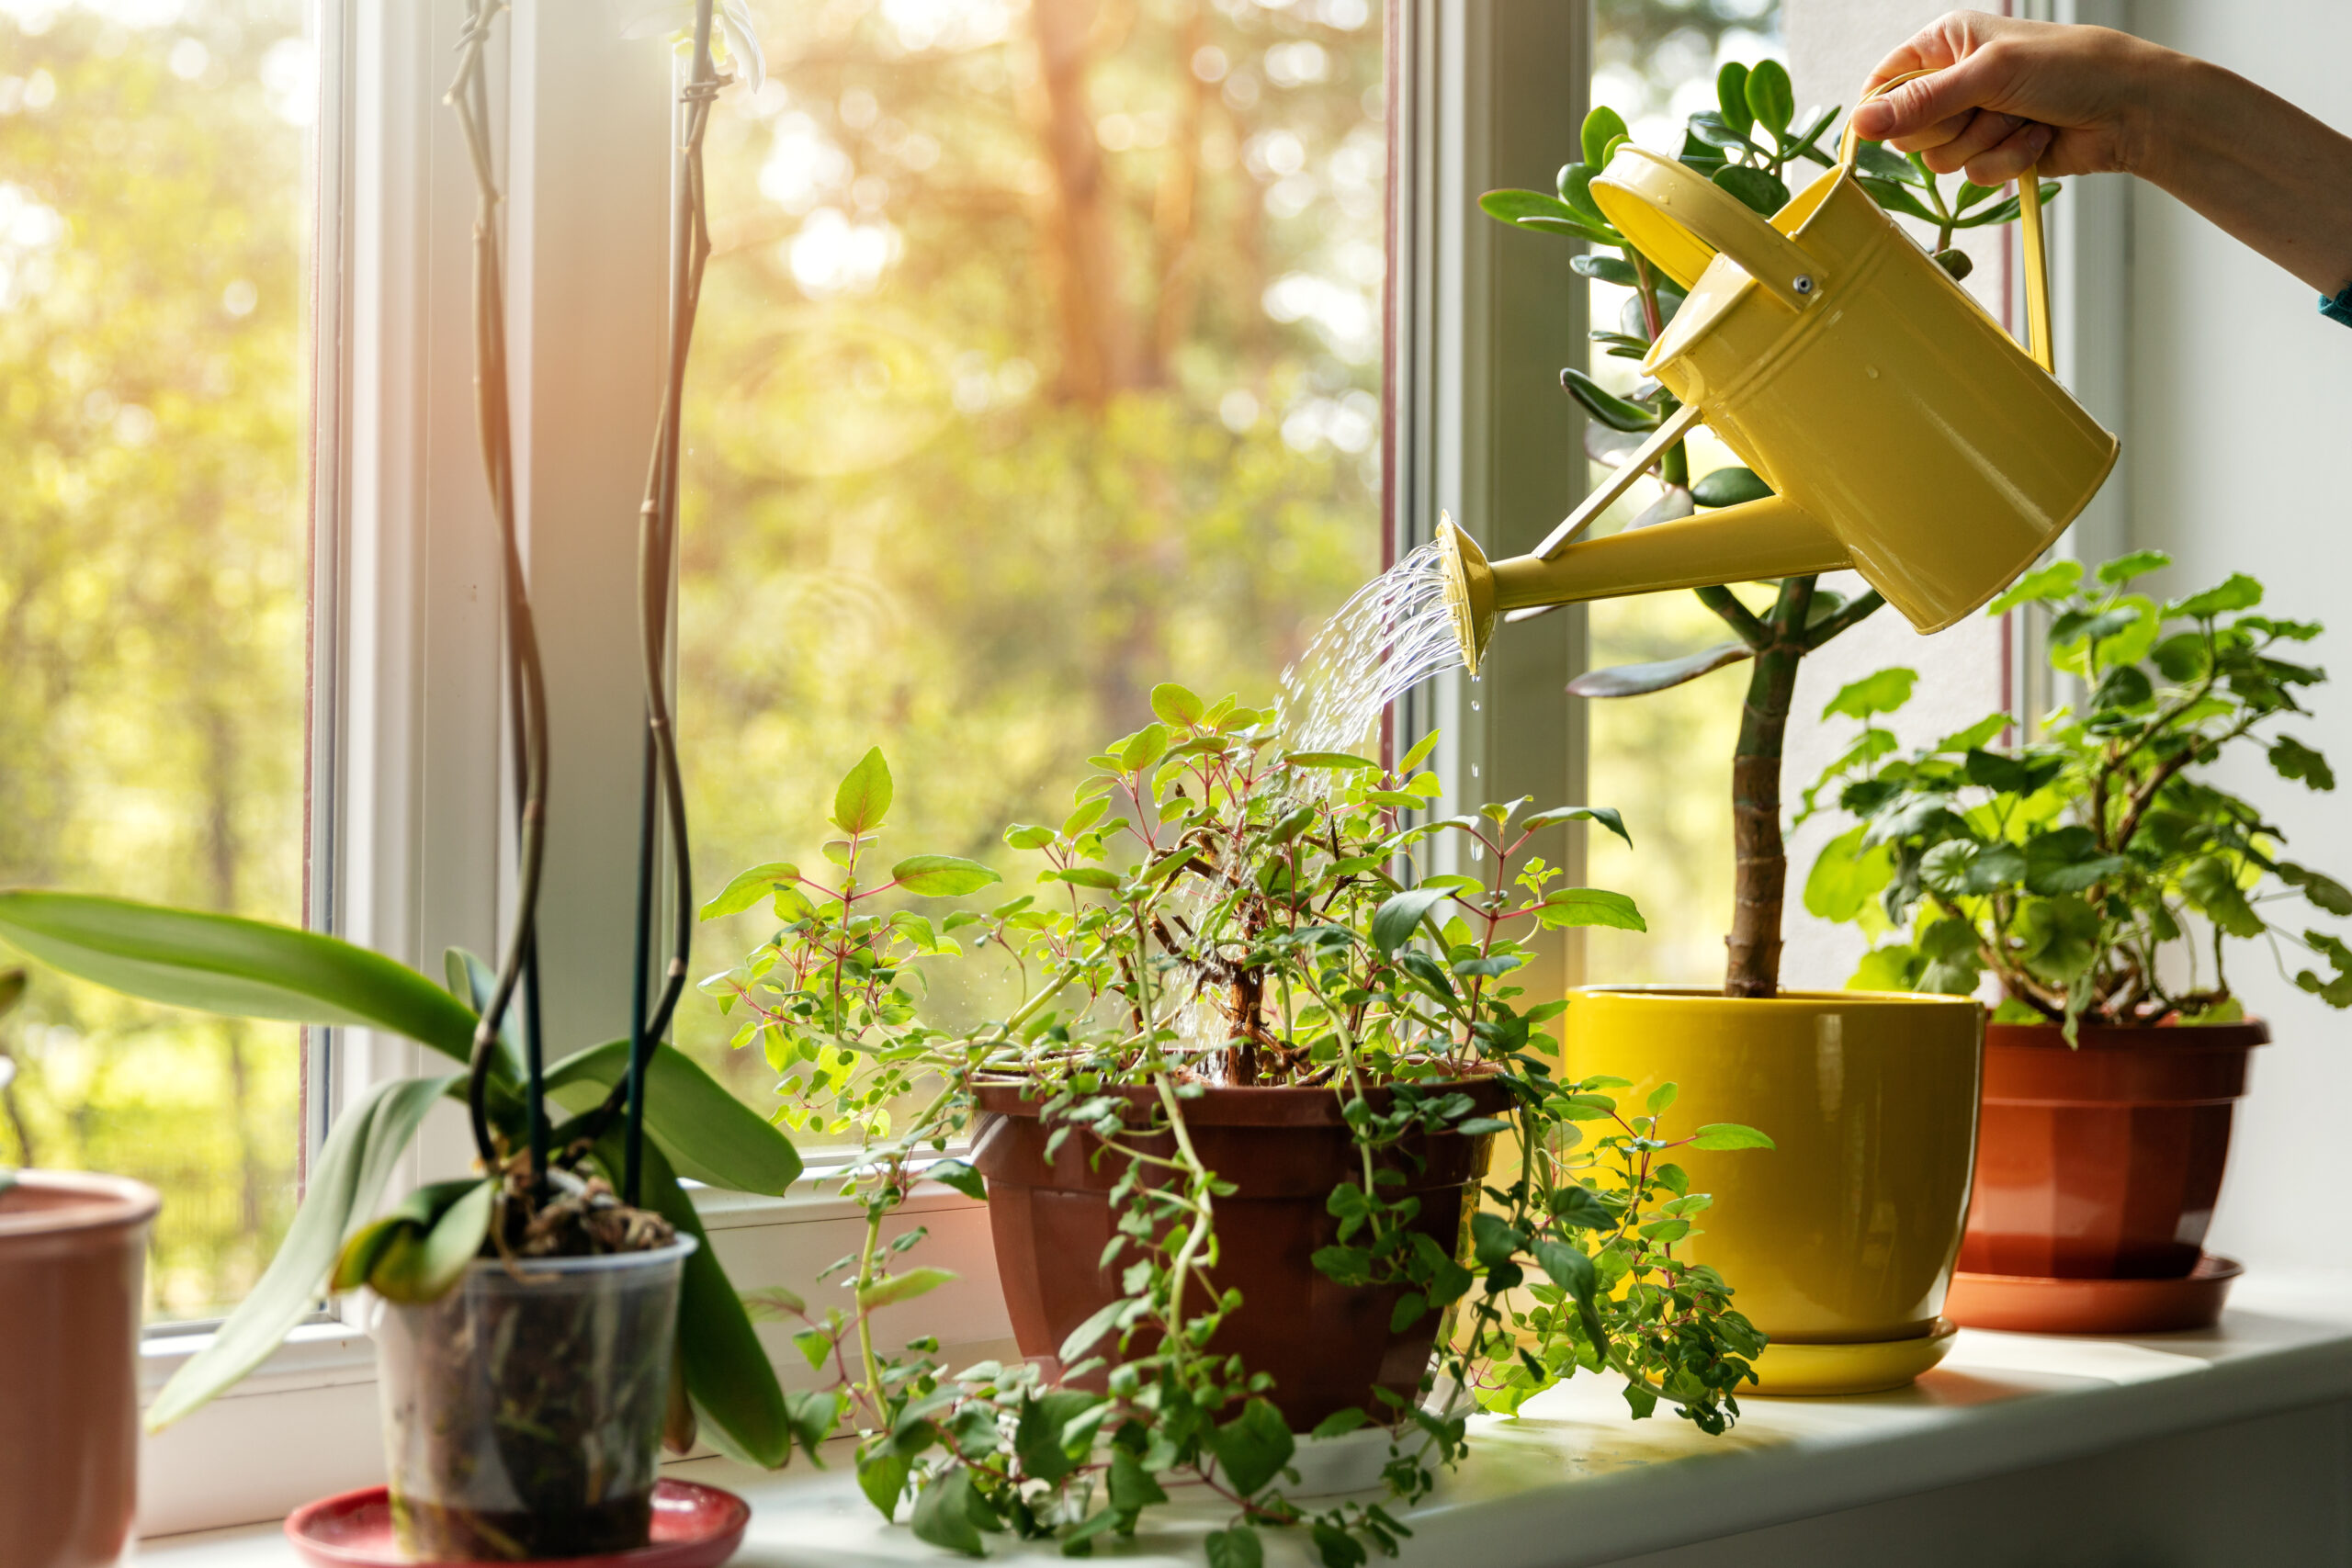
When to Back off The Watering Can
That means you! Seriously, put it down. You must let your herbs dry out sufficiently before rewatering. If you’ve Googled it, you’ve likely ran into this piece of classic plant parenting advice: “Water when the first inch of soil is dry.” While this isn’t necessarily wrong, it’s not necessarily right either.
Pot Size
Many factors go into when you should water your plant, including the size of your pot! If you have a 5-year-old Rosemary bush, chances are, it’s not in a 4-inch nursery pot anymore. If you follow the above advice, you will drown your plant.
Solutions? You could get fancy with it and purchase a moisture meter. They’re relatively inexpensive and allow you to effectively check the soil’s water levels deep down under!
If you want a free solution, ask for a pair of chopsticks next time you get Chinese Takeout. Estimate where your root-ball would be; insert a clean chopstick to the appropriate depth, pull it out, and analyze. If soil is still on the stick, that means it’s still pretty moist in there!
Plant Type & Goal
Of course, the most critical factor in watering is: What type of plant do you have? Herbs like Rosemary, Sage, Oregano, and Bay enjoy drier soils when compared to others. So, do your research.
The goal you’ve set for your herbs also affects what watering routine they will need. If you’re allowing your plants to rest, they need to dry out more. In contrast, if you’re giving them the light necessary for continued growth, you’ll need to maintain more of a summer watering-routine.
How to Humidify
Most herbs thrive in 50% humidity, while the average home during the winter months is around 10%. It’s not hard to see why some poor plants decide they cannot go on any longer!
Undeniably, humidifiers are the most effective way to raise the humidity levels for all of your herbs. If a humidifier is out of your reach, give your herbs an extra boost by misting them daily. Make sure to spray them during the morning hours so that the moisture will have ample daylight to evaporate.
One caution: Rosemary can develop mildew when misted. So, as with anything, make sure to do your research!
When to Fertilize
During dormancy, forgo fertilizer. Why? The extra nutrients can burn your plant’s roots, cause brown spots, and generally speaking… death. The simple fact is when your plant isn’t growing, it takes much longer to soak up the soil’s moisture, leaving your herb setting in fertilizer. It’s not a healthy equation.
That being said, if you are aiming to grow your herb during the winter months (and actually notice that your plant is indeed growing), fertilizing it won’t be the end of the world. Just remember, if this is your goal, it’s your herb’s “last hurrah.” Don’t expect it to live to grow another season!
Whether you have the goal of simple survival or consistent growth this winter, analyzing your lighting conditions and moisture levels is a good way to do damage control! Here’s to hoping you can channel your inner ‘Mother Nature’ and keep your plants happy and thriving during these chilly months.