by Briscoe White | May 10, 2011 | Miscellaneous |
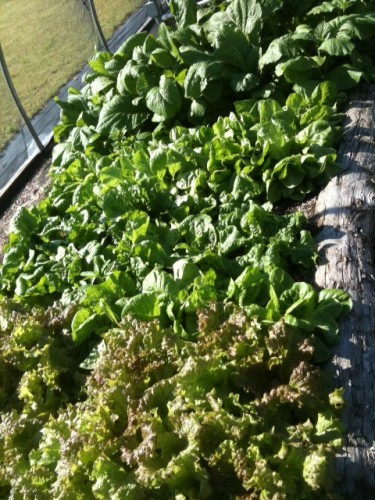
Well, after a month of sowing, growing, tending and pulling, our garden is looking fantastic!! Our lettuces, kales, spinach and other greens are getting massive and ripe for the picking. Yesterday, our marketing director Caroline and our grower Annie, visited for our first harvest. Both ladies came away with a crate a piece and dinner already in mind!
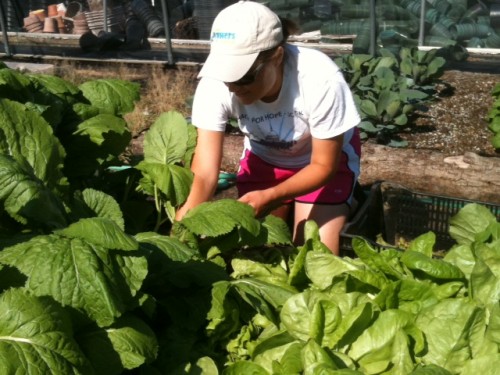
Annie made a delicious cooked mustard green dish using garlic powder, spices and honey and Caroline incorporated her lettuces and spinach with fresh strawberries, almonds and fresh Italian Large Leaf Basil for a great summer salad. Visit our Cook’s Exchange page for these recipes and more, using fresh herbs, seasonal veggies and lots of flavorful meal ideas!
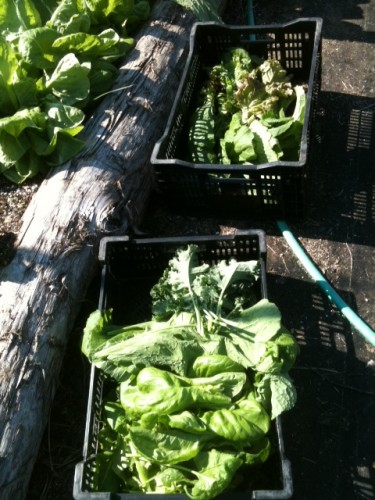
We’ll keep growing and updating everyone on our progress (and on how we cook everything, yum!). Check our Facebook page for more pictures and descriptions of all of fresh eats!
by Briscoe White | May 9, 2011 | Miscellaneous |
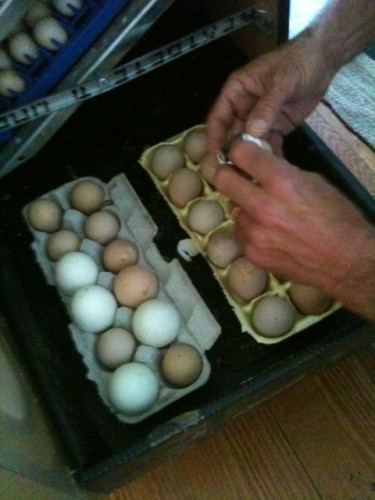
Guineas just starting to hatch
The world’s so small
when you’re living in a shell;
it’s warm and it’s dark –
what’s outside? I can’t tell.
After 28 days, I’m ready to go,
I start to pry and peck
until finally —
Light begins to show!
It’s slow going at first
as I wobble around
but I soon gain my footing
and begin making sounds.
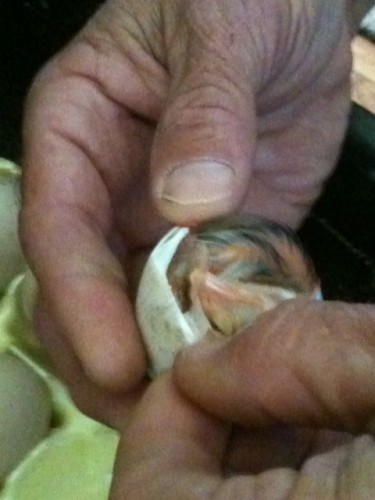
Getting a little help with hatching
“Peep! Peep! Peep!”
I announce with pride,
that thanks to some help,
I’m now out and alive!
—Guinea Keets ( No relation to the British Romantic poet, John.)
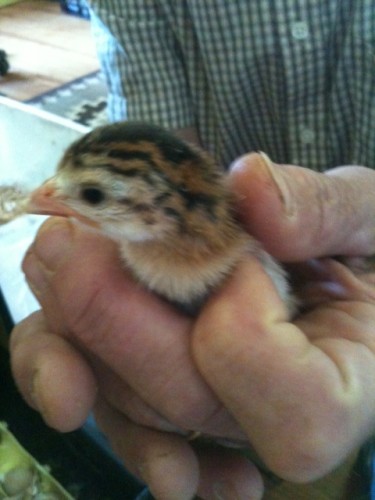
Meet our new poet, Guinea Keets! (baby guineas are called "keets")
by Briscoe White | May 2, 2011 | Miscellaneous |
Our Marketing Director, Caroline, discovered that when you’re repotting, it’s a good idea to wear protection…
As usual, I hate to see anything go to waste, so when one of our growers, Annie, asked if I’d like to have one of the succulent cacti they were clearing out of our greenhouse, I naturally accepted. Choosing the taller, more positive sounding, Euphorbia, I gingerly nestled it into the back of my car for the ride home. Fearing this desert plant’s unforgiving spines, I placed it on the mantle in my kitchen and affectionately named him “Senor Prickles”. He must not have liked his new moniker, as once I turned my back, he dove crown first to the floor, spilling his contents everywhere. Grabbing the broom and assessing the damage, I had to figure out how to get my needle-covered friend back into an adequate pot that would hold his top heavy weight. Realizing that I had no heavy duty gloves nearby, and my kitchen towels were too thin to blanket the sharp cacti nettles, I reached for my oven mitts and got to work. Between sweeping up the spilled soil and shooing my cats away from trying to eat the pot’s remains, I began to consider the importance of repotting indoor plants.
Repotting your plants not only gives them more room to grow and mature, but it gives them more space to dig in and anchor themselves for better support. As in the case of the “Senor”, repotting provided a much more stable base for his heavy top growth, keeping him from trying to commit suicide by flopping off of his high vantage point. After repotting my newest addition, I began to look around at my other indoor herbs and made plans for making them new homes as well.
Choosing a large, wide pot that I filled with moist potting soil, I transplanted my ‘Alaska Mix’ and ‘Empress of India’ Nasturtiums, and arranged them so that their tendrils would drape over the edges and off of the sunny table I placed them on. For my Calendula, I chose a similar method, but used a smaller pot to help them keep a more erect habit. Originally having been staked, their new environment kept them standing tall and a good pruning made them look much happier! My tiny ‘Grosso’ Lavender, who has been a trooper all winter but was beginning to look a little sad, was my biggest worry. Remembering that Lavenders love very well-drained, dry soil, I lined the bottom of the six inch pot I chose for it with a very dry, brittle mix of soil with bits of debris and small twigs included. Hoping the coarse nature of this soil would help aerate and allow for better drainage, I potted my ‘Grosso’ (also known as ‘Fat Spike’ Lavender) with some richer mix on top. After ten minutes of deadheading and trimming dead foliage away, my indoor garden was looking much stronger and I felt a great satisfaction at my spring progress.
A few tips to remember for when you decide to revamp your indoor plants:
*Good drainage is key! Make sure not to over water, but if you do get aqua overzealous, make sure your pots have good drainage holes and are placed upon plates or saucers to catch excess moisture. But never let them stand in full saucers!
*Proper Pot Size is more important than you think. Repot plants in containers that are one to two inches wider and deeper than their original planter to give them plenty of room to stretch and grow. Potting them in too big a container will allow for excess room for moisture to collect which could water log the roots or promote disease to grow.
*Be careful when removing your plant from its original container. Try to ease it out and relax the root ball some by rolling it around in your hand a little. This will allow the roots to release from their previous shape and stretch and fill the provided extra room.
*Water generously once you get your plant adjusted to its new container. They’re thirsty when first potted and this will also help the roots and soil settle.
by Briscoe White | Apr 20, 2011 | Miscellaneous |
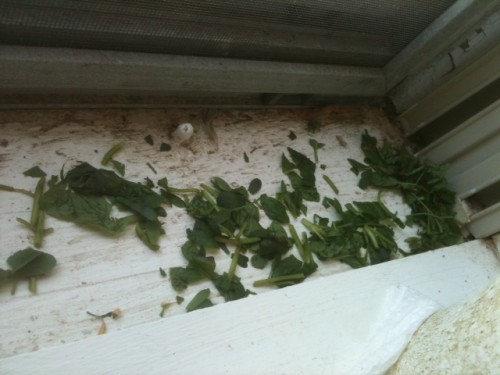
Recently a customer called looking for Rue plants. He had heard that they were a natural ant repellent and his home was beginning to get swarmed for the spring. When I came in this morning, coffee in hand, ready to get my eyes opened and start the day — I sat down to a gathering force of ants with a mission to conquer my desk. (I believe this is the ONLY downfall to sitting directly in front of two windows…the view is great but it comes with a price!) Remembering what the customer had mentioned, I quickly gathered some sprigs of Rue and Mint (I heard Mint thwarted stinkbugs, so I figure, hey? Why not?) After shredding the herbs and sprinkling them close to where the ants came marching out of the windowsills on either side, I sat back and watched. Within an hour, the ants had stopped their stream into the office and across my desk! Rue and Mint turned out to be effective AND they smelled terrific all afternoon long!
by Briscoe White | Apr 13, 2011 | Miscellaneous |
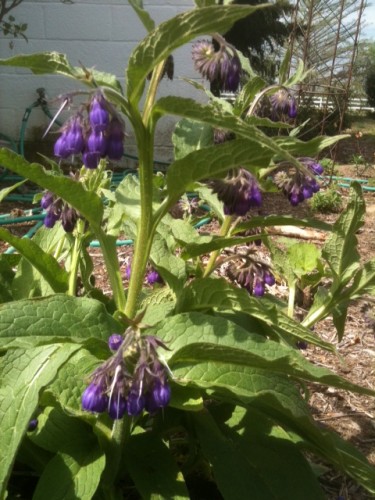
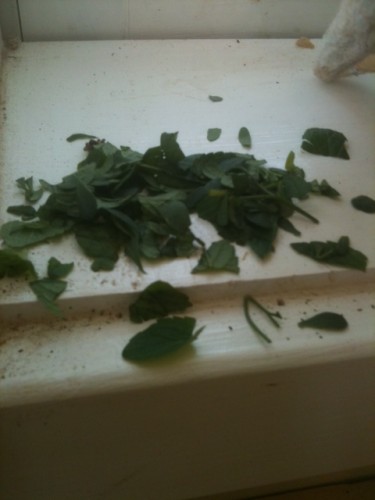
Once used as a medicinal herb, Comfrey has a new calling in your garden! Long-loved for its ability to help heal sprained or broken bones, sores and other ailments, Comfrey is one of the hottest green composting trends this season. Long, deep-reaching roots absorb nutrients that are found far below the depth that many other plants’ roots stretch to, and are then stored in the plants many, broad leaves. Yielding lots of large, nutrient-rich leaves from just a few plants, these energetic growers thrive in wet, shady areas and aren’t too picky about the type of soil they’re given. When firmly established, Comfrey leaves can be gathered repeatedly throughout the season, much like Basil. The leaves break down quickly when harvested and can be added directly to your compost pile, to a sealed container and left to decompose to make a liquid fertilizer, or just scattered about your garden. Especially beneficial to tomatoes and fruiting plants, Comfrey can also improve the health of your houseplants when made into a compost tea. Comfrey is very high in Potassium and contains two to three times more than livestock manure which is commonly used as fertilizer. Go green and try adding Comfrey rather than manure to your garden, which will also reduce the risk of polluted runoff.
Comfrey Compost Tea
Materials:
- Fresh Comfrey Leaves (as many as you want, or have room for!)
- 1 5-Gallon Bucket with a Sealable Lid
- A Brick, Rock or Broad, Heavy Object
1) Fill your bucket with as many fresh Comfrey leaves as you would like
2) Lay your brick or heavy object on top of the leaves to weigh them down. Compressing them will speed up the decomposition process and give you more “tea” in a very quick manner
3) Seal the bucket tightly. If there is a spout on the bottom or side of the bucket, make sure it is sealed as well. (This can make pouring your compost tea a bit easier later on…think of it as the gardener’s version of a teapot)
4) Some recipes call for water to be added to the leaves as well. You can add water if you would like, but this will dilute your tea, making it weaker, and it will also begin to smell really badly once the leaves break down. They can decompose on their own with less smell.
5) Keep the bucket sealed for about six weeks or so to allow the leaves to fully break down.
6) Drain off the dark brown liquid that has accumulated in the bottom of the bucket and you can add the rest of the leaves directly to your garden or compost pile to help activate the soil and encourage the health of your garden or houseplants.
You can continue to “brew” your “tea” all season long to keep your plants healthy and happy!
by Briscoe White | Apr 7, 2011 | Gardening, Growing, Herbs, Miscellaneous |
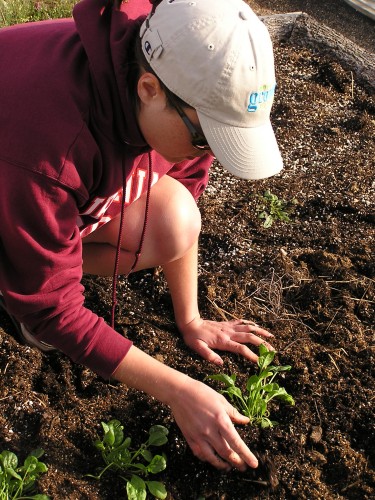
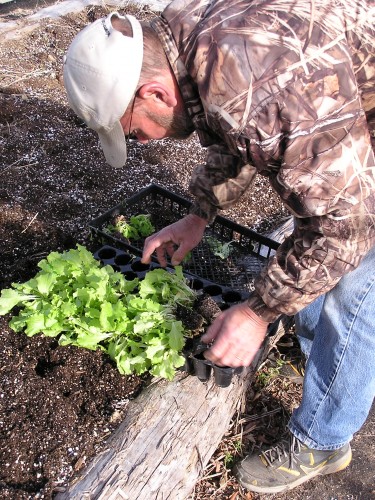
Well it’s finally warm enough here, in Zone 7, to start our staff garden! We took the time during the cooler months to build raised beds from cedar and hardwood logs in one of our unused cold frames. While we waited on our plants to sprout in our germination chamber, we turned horse manure and organic compost from our farm into the soil in each bed. Formerly used for growing lilies, these beds have now been transformed for our new garden!
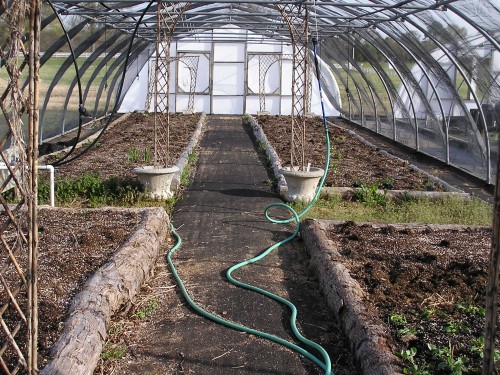
In addition to the beds, we also have multiple trellises and growing towers (thanks to Mr. Lee Blevins, inventor-extraordinaire!) to fill with everything from beans and strawberries to cucumbers, squash, tons of herbs and more! Everyone got to pick what vegetables and herbs they wanted, and we’re going to all take turns tending, weeding and caring for the plants. We’re going to be experimenting with companion planting as well, in hopes that our plants will work together to encourage healthier growth from each other. (Hopefully saving us quite a bit of trouble!)
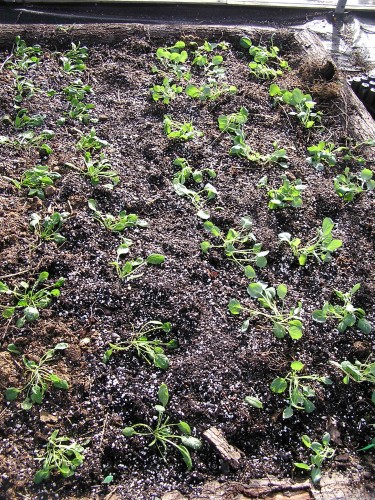
Accompanied by our grower Annie and my dog Tucker, we planted the Spinach, Lettuce, Prostrate Rosemary and Collard Greens. We’ll be documenting our whole gardening adventure– what we’ve grown, how we’ve grown it, how we used it and especially, how delicious it was! Stay tuned!!
Stay tuned to our facebook page (facebook.com/The.Growers.Exchange) for more pictures and don’t forget to check back often to our blog for more updates on how everything’s growin’!!
