by Briscoe White | Aug 17, 2020 | DIY Gardening, Gardening, Miscellaneous, Urban Gardening |
Back in World War I, Europe had a huge food shortage, which prompted the creation of the National War Garden Commission. What resulted was American civilians growing fruits and vegetables to feed themselves so commercial agriculture could export to the European allies. They were called “victory gardens”. While we’re not currently in a physical war, it’s certainly a good idea to start victory gardens again. In our war against the novel coronavirus, picking up gardening as a hobby to bring homegrown food to the table can certainly be a fulfilling achievement!Considering it’s summer, it’s the perfect time to start a victory garden if you don’t already have one. Here’s a quick guide to starting one!
Victory Garden Basics
You want to maximize the gardening space and time you have. Certain fruits and vegetables will grow within a specific timeframe. So you want to do your basic planning and ensure you stagger your plants in the most optimal fashion possible.
Traditionally, people would grow things like carrots, cabbage, lettuce, kale, tomatoes, beans, squashes, turnips, peas, and beets in their victory gardens. So those are great ones to start with.
No matter what you choose to grow, stagger them out so you get a good rhythm going where you can harvest your plants, eat your harvest in a short time, and have another harvest ready by the time you’re done consuming all your fruits and/or veggies. For example, plant 5 heads of lettuce at a time instead of 20 to reduce food waste.
Seasons for Crops
As we mentioned above, there are different seasons for various crops. If you want carrots, peas, lettuce, or kale, then it may be too late to plant them, as those are best planted during early spring.
The best crops to plant for summer include beans, corn, eggplants, peppers, squashes, tomatoes, basils and other herb plants. For the fall and even winter, think about planting lettuce, arugula, carrots, broccoli, beets, spinach, and parsley.
Come up With a List of Your Favored Plants
Not everyone will like every single fruit or vegetable, and that’s ok. Sit down with your family and determine which ones most of you like.
Then, with that list, determine how many of each you want to plant in your victory garden. If you want to try your hand at pickling anything, make sure to grow extra to account for that. For those just starting out or those with limited space; herbs are a great choice to grow. Herbs enhance flavor in all foods, from salads to steaks. Adding fresh herbs make food taste better! Herbs are versatile; each has its own growth habits and environmental needs. Select the herbs you will use; then find a spot where they can thrive and remain hardy when a few clippings are needed.
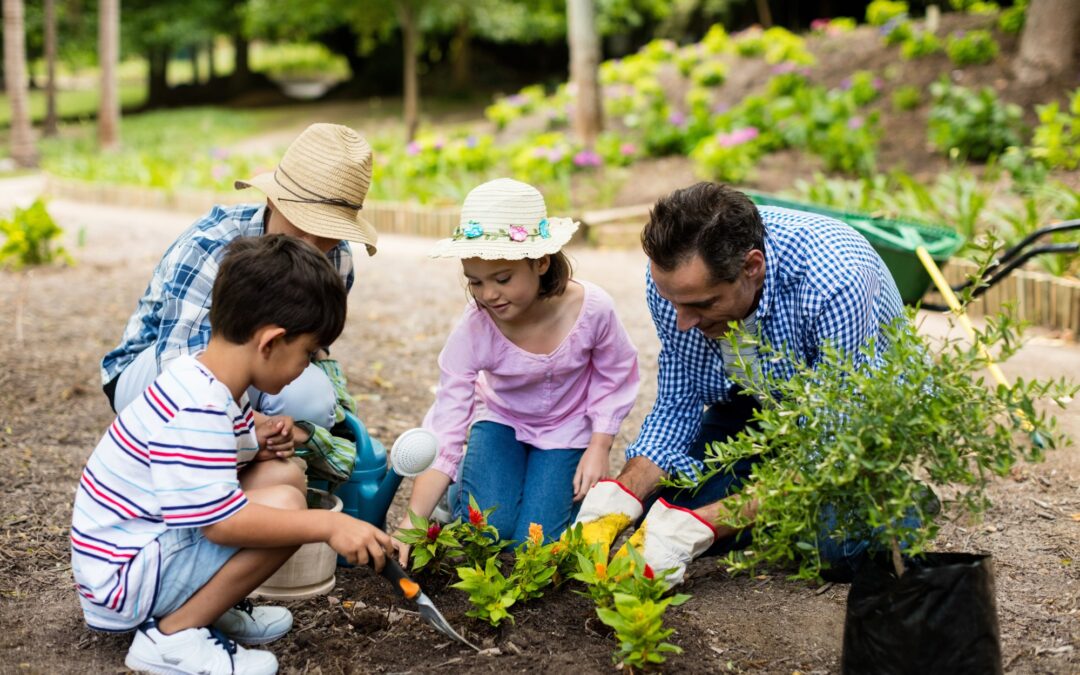
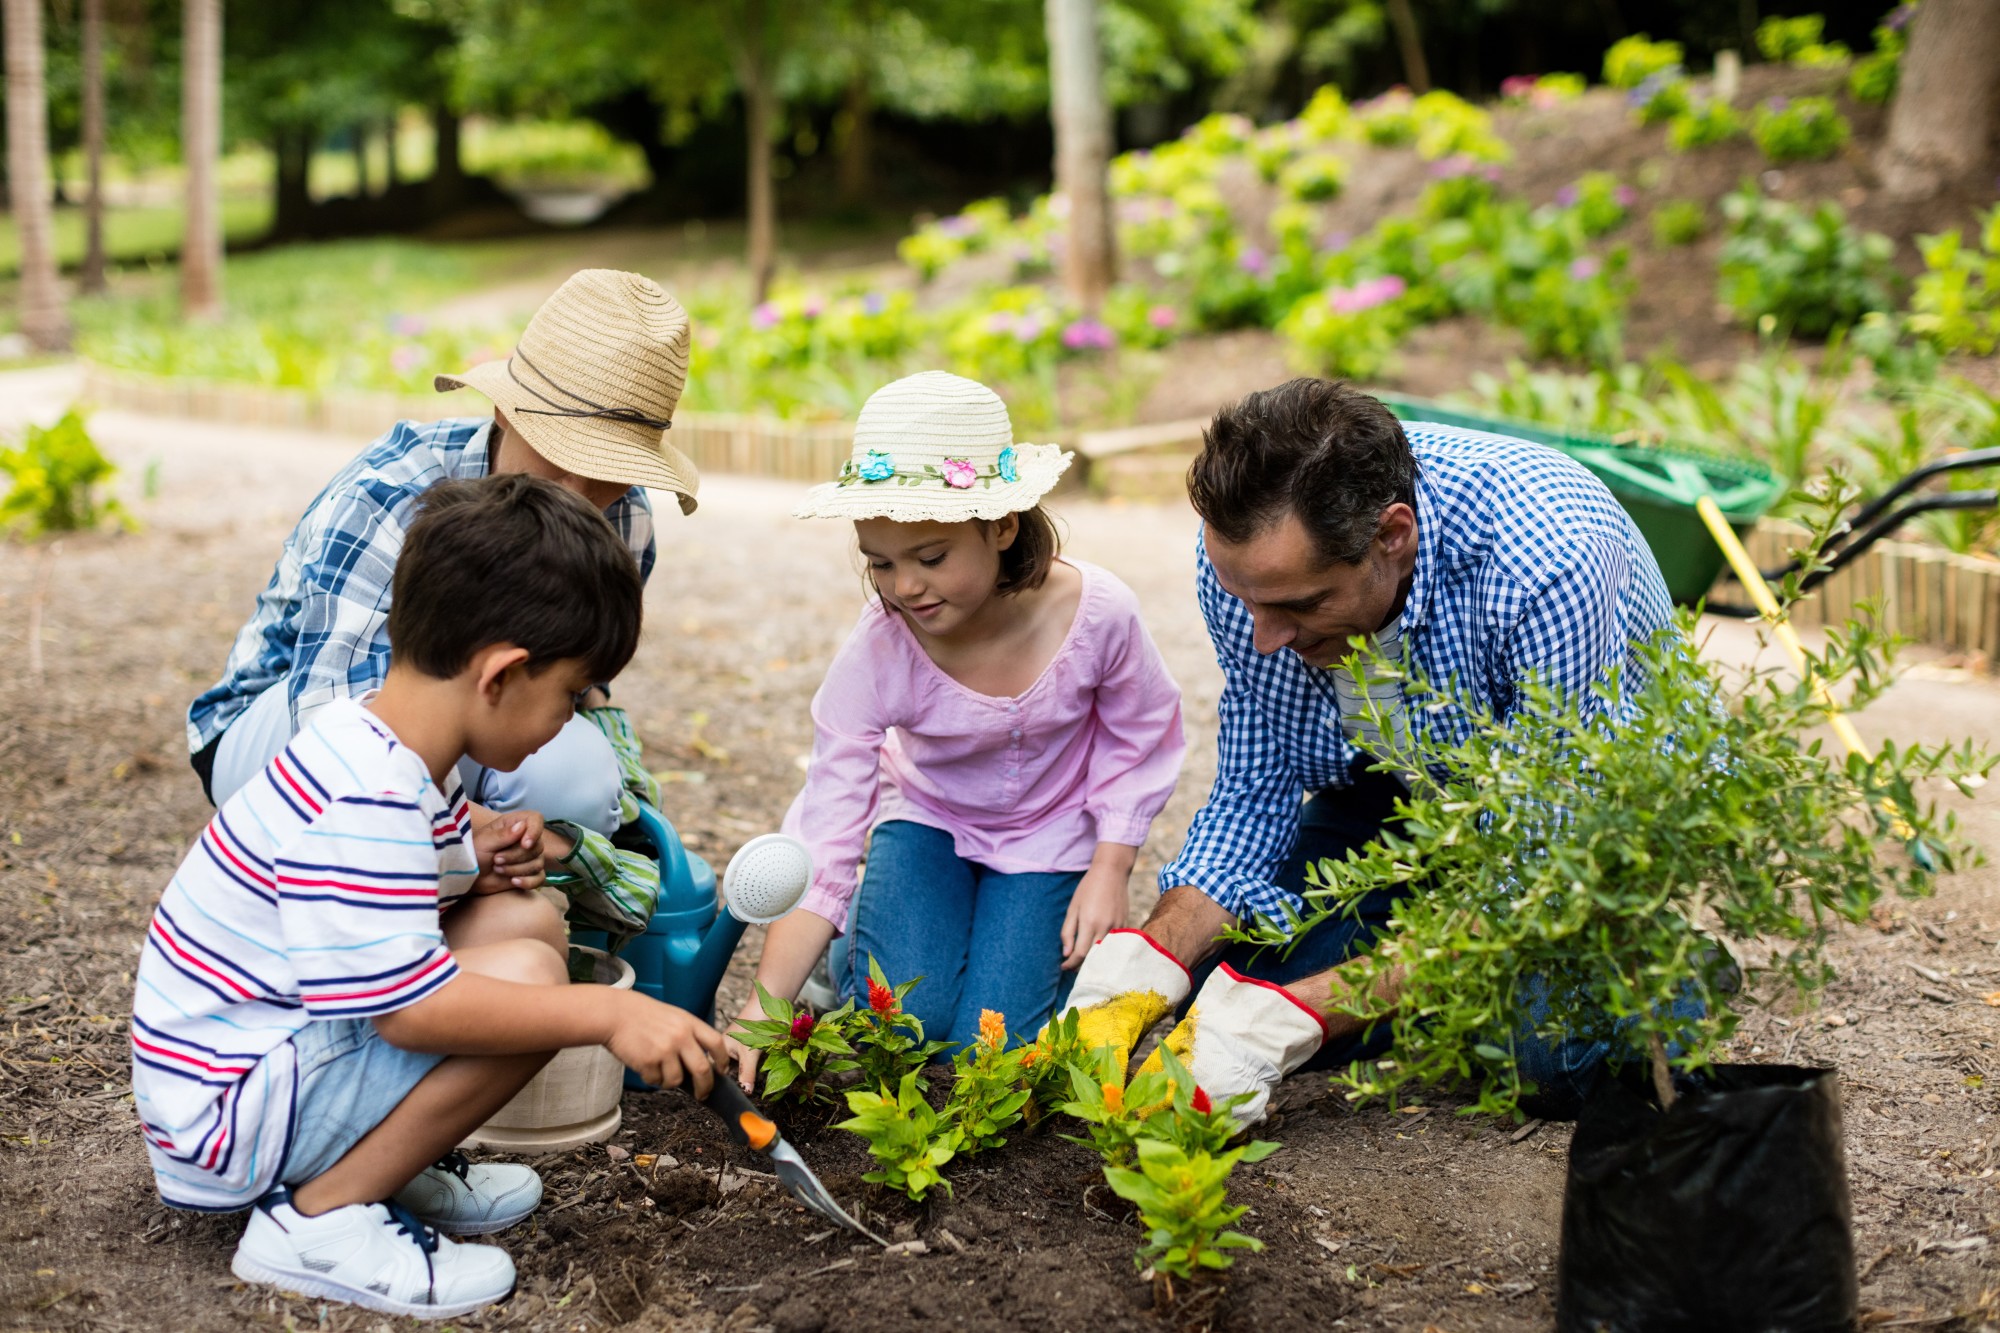
Plant a Victory Garden for Fun With Your Family
As you can see, creating a victory garden serves many purposes. Not only can you get the satisfaction of growing your own fruits and veggies, but it can also be a fun pastime to do with your family members.
So get to researching potential crops to grow, order the seeds and any equipment you need, and have a blast for the foreseeable future!
Are you ready to start your victory garden? Then browse our selection of herb plants now!
by Briscoe White | Nov 11, 2016 | Containers, DIY Gardening, Gardening, Growing, Herbs, Miscellaneous, Urban Gardening |
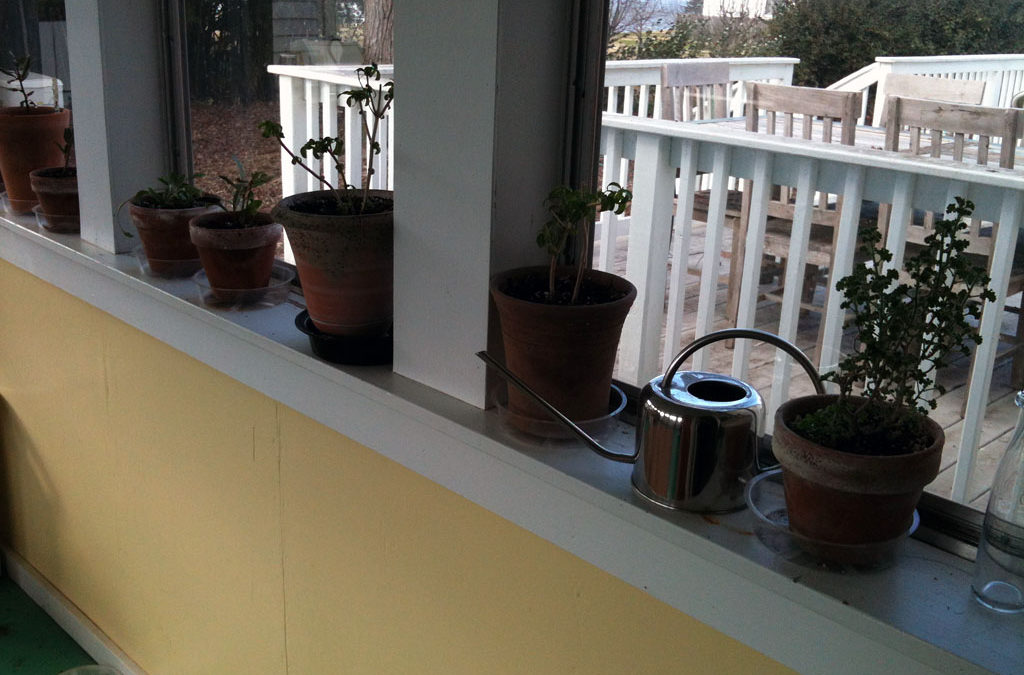
To keep our test garden growing strong through the winter, we’ve moved some of our favorite herbs indoors. Our sun porch has become a haven for potted herbs and one of our favorite places to take a break or eat our lunches. Receiving lots of sunlight, our potted garden has been thriving throughout this mild winter here in zone 7. Watering about once a week, our plants are showing lots of healthy new growth and it’s not even spring!
What started as a project to see what temperature and lighting worked best for these potted herbs, has now developed into a lovely place to relax and find a moment of peace during the day. Having these plants close at hand makes cooking and crafting even more enjoyable. Bring natural beauty and energy to your home with two of our favorite fragrant and functional potted herbs!
(more…)
by Kenan White | Apr 19, 2012 | Basics, Books & Design, Flowers, Gardening, Herbs, Inspiration, Life on the Farm, Miscellaneous, Urban Gardening |

Rain barrels are easy and very inexpensive to make and you'll save lots of water, time and money.
In keeping with our green theme this week for Earth Day on April 22nd, here’s another great project that your plants will appreciate! Our Marketing Director, Caroline and her boyfriend built the one above, for their gardens last summer.
She swears by her backyard barrel, ” This is a great alternative to the chemicals in city water and to paying city water bill prices! My herbs and his tomatoes went wild over this water last summer!”
Reduce your water use considerably by building a rain barrel. Watering your plants with rainwater is better for them than tap water because of all of the minerals that collect in the rainwater that feed the plants. Also, many municipal water systems treat their water with chlorine and fluoride, which can build up in your soil over time and reduce its quality. Watering your gardens may also use quite a bit of water, and especially in the summer when things are extremely dry, some areas institute mandatory water restrictions. Having your own rain barrel also reduces runoff which can carry lots of pollutants back into the water system, and it allows you to have a source of water in a part of your yard that may not have a spigot nearby. A rain barrel will keep your plants healthy and well watered, save water, and save you money! You can also decrease debris and pollutants by installing gutter guards into your gutters around the exterior of your house, companies such as Mastershield Atlanta as well as other companies can provide you with these gutter guards.
Building a rain barrel is easy and very cheap if you have the right resources.
- Start with a large food barrel that you’ve rinsed thoroughly. Place it on top of four cinder blocks that are laying flat on the ground. (This will help to give the barrel more height and better gravity, allowing the water to flow better once it gets to a lower level.) Large restaurants receive shipments of these barrels all of the time, and if you can’t get one directly from them, try looking online. We found the barrel pictured above in a garden listing on Craigslist, and it once held A LOT of olives.
- Using a Dremmel tool or saw, cut a 6″ hole in the top of the lid, so that the center is hollow but you can still screw the cap onto the top of the barrel.
- Take a piece of old window screen and cut it so it just fits the top of the barrel, while still allowing you to screw the top in place. Make sure the screen is well fitting, as this will keep insects and debris out of your water.
- Drill a hole at the bottom front of the barrel that is just slightly smaller than a small spigot that you can find at your local hardware store. Fit the spigot into the hole for a very snug fit (this prevents you from having to use chemicals to seal the spigot into place.)
- Place beneath or connect to your gutter runoff spout. Then, just wait for it to rain! Your barrel will fill with rainwater and you can water your flowers and herb plants with a watering can or by attaching a short length of hose.
by Briscoe White | Jan 10, 2012 | Herbs, Indoor Gardening, Inspiration, Miscellaneous, Recipes, Urban Gardening |

While winter is still flirting with us here in zone 7, many of our friends are already hunkered down throughout the country to weather out winter storms. Though I love the simple beauty of winter, I hate that freezing feeling. You know the one, where you can’t seem to ever get warm. The one that no matter how many layers of socks you put on, you still have toecicles. It’s that down-in-your-bones-cold feeling that no heap of blankets can seem to remedy. If you’re having trouble staying warm from the inside out, then it’s time to brew some delicious hot tea. There’s no quicker cure for this kind of coldness, than a steaming cup of herbal tea to lift your spirits, warm your bones and relax your mind. For an added benefit, try mixing medicinal herbs into your brew to ward off those worrisome winter sniffles.
Here’s a great recipe from our Marketing Director, Caroline, who usually uses her cats as a “mew”-lectric blanket, but when they’re not enough, she turns to a hot cup of herbal tea from her garden.
We’ve had a relatively mild winter here in the Richmond, VA area this year, so when we experienced our first cold day, it was a shock. I got home after a long commute in the cold, and I just couldn’t leave the January chill at the door. I turned the heat up and donned a sweater but still wasn’t satisfied with the temperature. After a quick survey of the kitchen, I realized that it must be time to grocery shop, because I was out of herbal tea. Instead of chattering any longer, I realized that because of the unseasonably warm winter we’d had until this point, I still had a few hardy herbs left in my gardens outside and some indoor potted herb gardens thriving in my kitchen.

Younger Horehound leaves are covered in a protective fuzz that they shed as they grow bigger.
I gathered a handful of Horehound, an old fashioned medicinal herb, related to mint that acts as a soothing expectorant. Though not approved by the FDA you can find Horehound in many candies, cold remedies and lozenges, and makes a wonderful tea. (As with all medicinal herbs though, you should consult your doctor or herbalist if taking other medications and it shouldn’t be taken in large doses, especially by people with heart conditions or who may be pregnant because it may affect your blood pressure or existing heart conditions.) I think it’s a beautiful plant in the garden, with its fuzzy, textured leaves and was excited to try it in tea. I found it to be slightly on the bitter side, so next time I’m adding more Mint and maybe even some Stevia to sweeten it up!

Chocolate Mint is a beautiful addition to your kitchen garden.
I also picked a few dark sprigs of Chocolate Mint and some large, bright green leaves of Kentucky Colonel Mint for flavor. Mint has always been one of my favorite plants- it’s easy to grow, easy to use, and each variety has its own charm. The smooth, dramatic leaves of the Chocolate Mint and the brilliantly green texture of the Kentucky Colonel Mint look as great in an herb bouquet as they taste in a tea! These two varieties are a unique twist on the standard Peppermint flavor. Kentucky Colonel has a bold, spicy spearmint taste that works well in summer drinks and salads. Chocolate Mint has a smoother, more subdued flavor, warmer than some of the other varieties, and tastes great in desserts. Both of these culinary herbs are perfect for making tea, as Mint is a great digestive aid and its strong mentholated aroma allows you to breathe more easily.

Kentucky Colonel Mint is great for more than just Mint Juleps!
Being too impatient to dry my herbs, I washed and chopped them and then packed them into a small tea infused. Just add hot water and let the leaves steep for a bit! You can also dry your herbs in advance for more of a traditional tea.

You can also use cheesecloth to make a small pouch for infusing.
Consider tisanes (herbs for making tea or herbal infusions) when you’re planning your next garden. We all love teas with more floral flavors, like Chamomile and Lavender, but don’t forget that many culinary herbs make a great tea, too. Some other unlikely candidates for a healthy, flavorful tea to warm your bones are Lemon Grass, Rosemary, Basil and Lemon Thyme. Try mixing different variations of your favorite culinary herbs and discover a delicious new way to use your garden! Want to get a start on your herb garden during these cold winter months? Try one of our Potted Herb Garden Kits, like our Time For Tea Gift Set and we’ll give you everything you need, from soil to saucer, to grow your own tea garden.
by Herb Exchange | Mar 3, 2011 | Basics, Containers, Flowers, Gardening, Growing, Herbs, Indoor Gardening, Inspiration, Miscellaneous, Urban Gardening |

As some of you may have followed our previous blogs on our Social Media and Marketing Director, Caroline’s Nasturtiums, here’s an update on her indoor garden!…

Those who know me, know that I’m a pack rat. I can’t stand to waste anything that has potential. This, coupled with my tendency to nurture, is what led me to my first attempt at indoor gardening, or, as I like to refer to it, my “Garden of Misfit Plants”. I’ve got annuals, succulents and houseplants cohabiting on an old card table that faces the sliding glass door to my backyard, that live in (general) harmony. Barring random attacks from our two nosy cats and the occasional neglected watering, my collection of crippled Cacti, Calendula and Nasturtiums have flourished in their new homes! After trials with recent repottings, I was excited to find that my ‘Empress of India’ Nasturtiums have begun to bloom yet again and my Calendulas are about to burst open in the next few days! These annual-turned-tender perennials have been such a great experiment in gardening–let’s see how long I can keep them going!

by Herb Exchange | Feb 11, 2011 | Gardening, Growing, Herbs, Indoor Gardening, Inspiration, Miscellaneous, Urban Gardening |
Since we recently posted on our Social Media and Marketing Director, Caroline’s Nasturtiums that went to seed, there has been an exciting development! Read her update below for the news…

My severed Nasturtium actually started sprouting little, white roots!
Well, when repotting my ‘Alaska Mix’ and ‘Empress of India’ Nasturtiums recently, I accidentally broke off a beautiful, healthy stem that had a ton of marbled foliage trailing from it. Worried that I had just ruined one of the prettiest branches of the plant, I immediately started to look around for a solution. With the speed of an ER nurse, I placed the severed “appendage” in the first thing I could find and fill with water–an empty Gatorade bottle. After filling the bottle with cold water and jamming the wounded end of my favorite plant down into the neck of the bottle so that it was just under the water level, I left my crippled Nasturtium to recuperate in a sunny spot. I had honestly forgotten that it was even there, and figured that maybe it was only staying green because it was freshly cut, and, much like a bouquet of cut flowers, it would wilt and become compost in a week or so. Much to my surprise when I happened to take a look at it last night, the lonely, broken stem had started to put out lots of little, white volunteer roots, each stretching down into the water. Amazed that my accidental pruning had resulted in another Nasturtium plant, I just had to share! The moral of my story is that even trial and error in gardening can grow to be a great experience!