It’s Beginning To Feel A Lot Like Christmas

It’s Beginning To Feel A Lot Like Christmas

Shop Parsley Plants

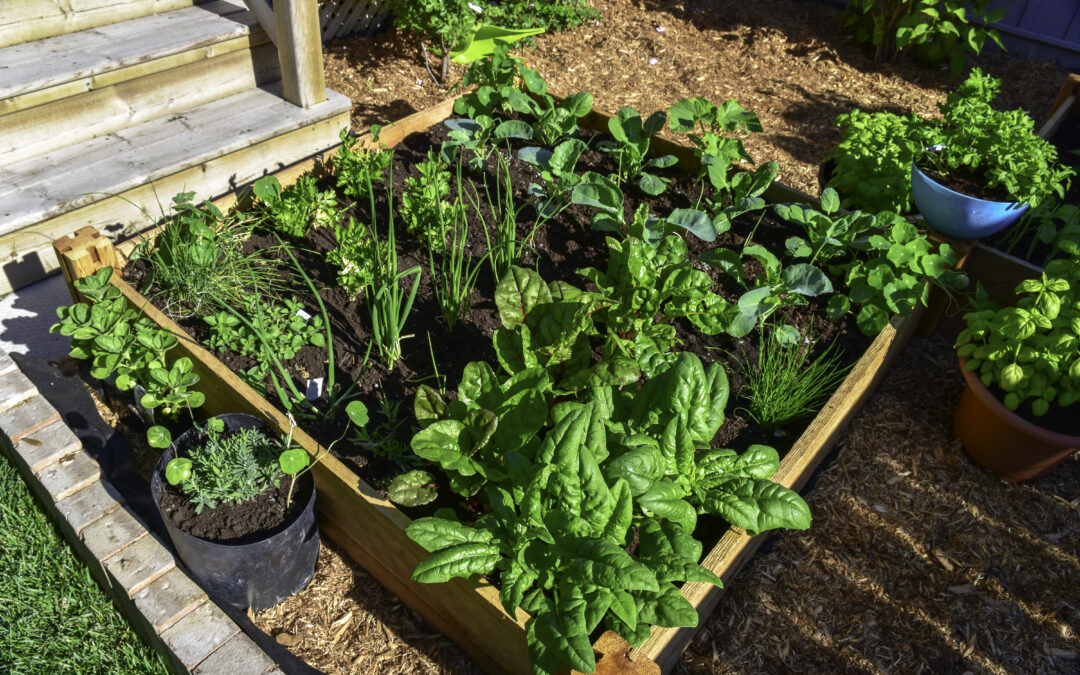
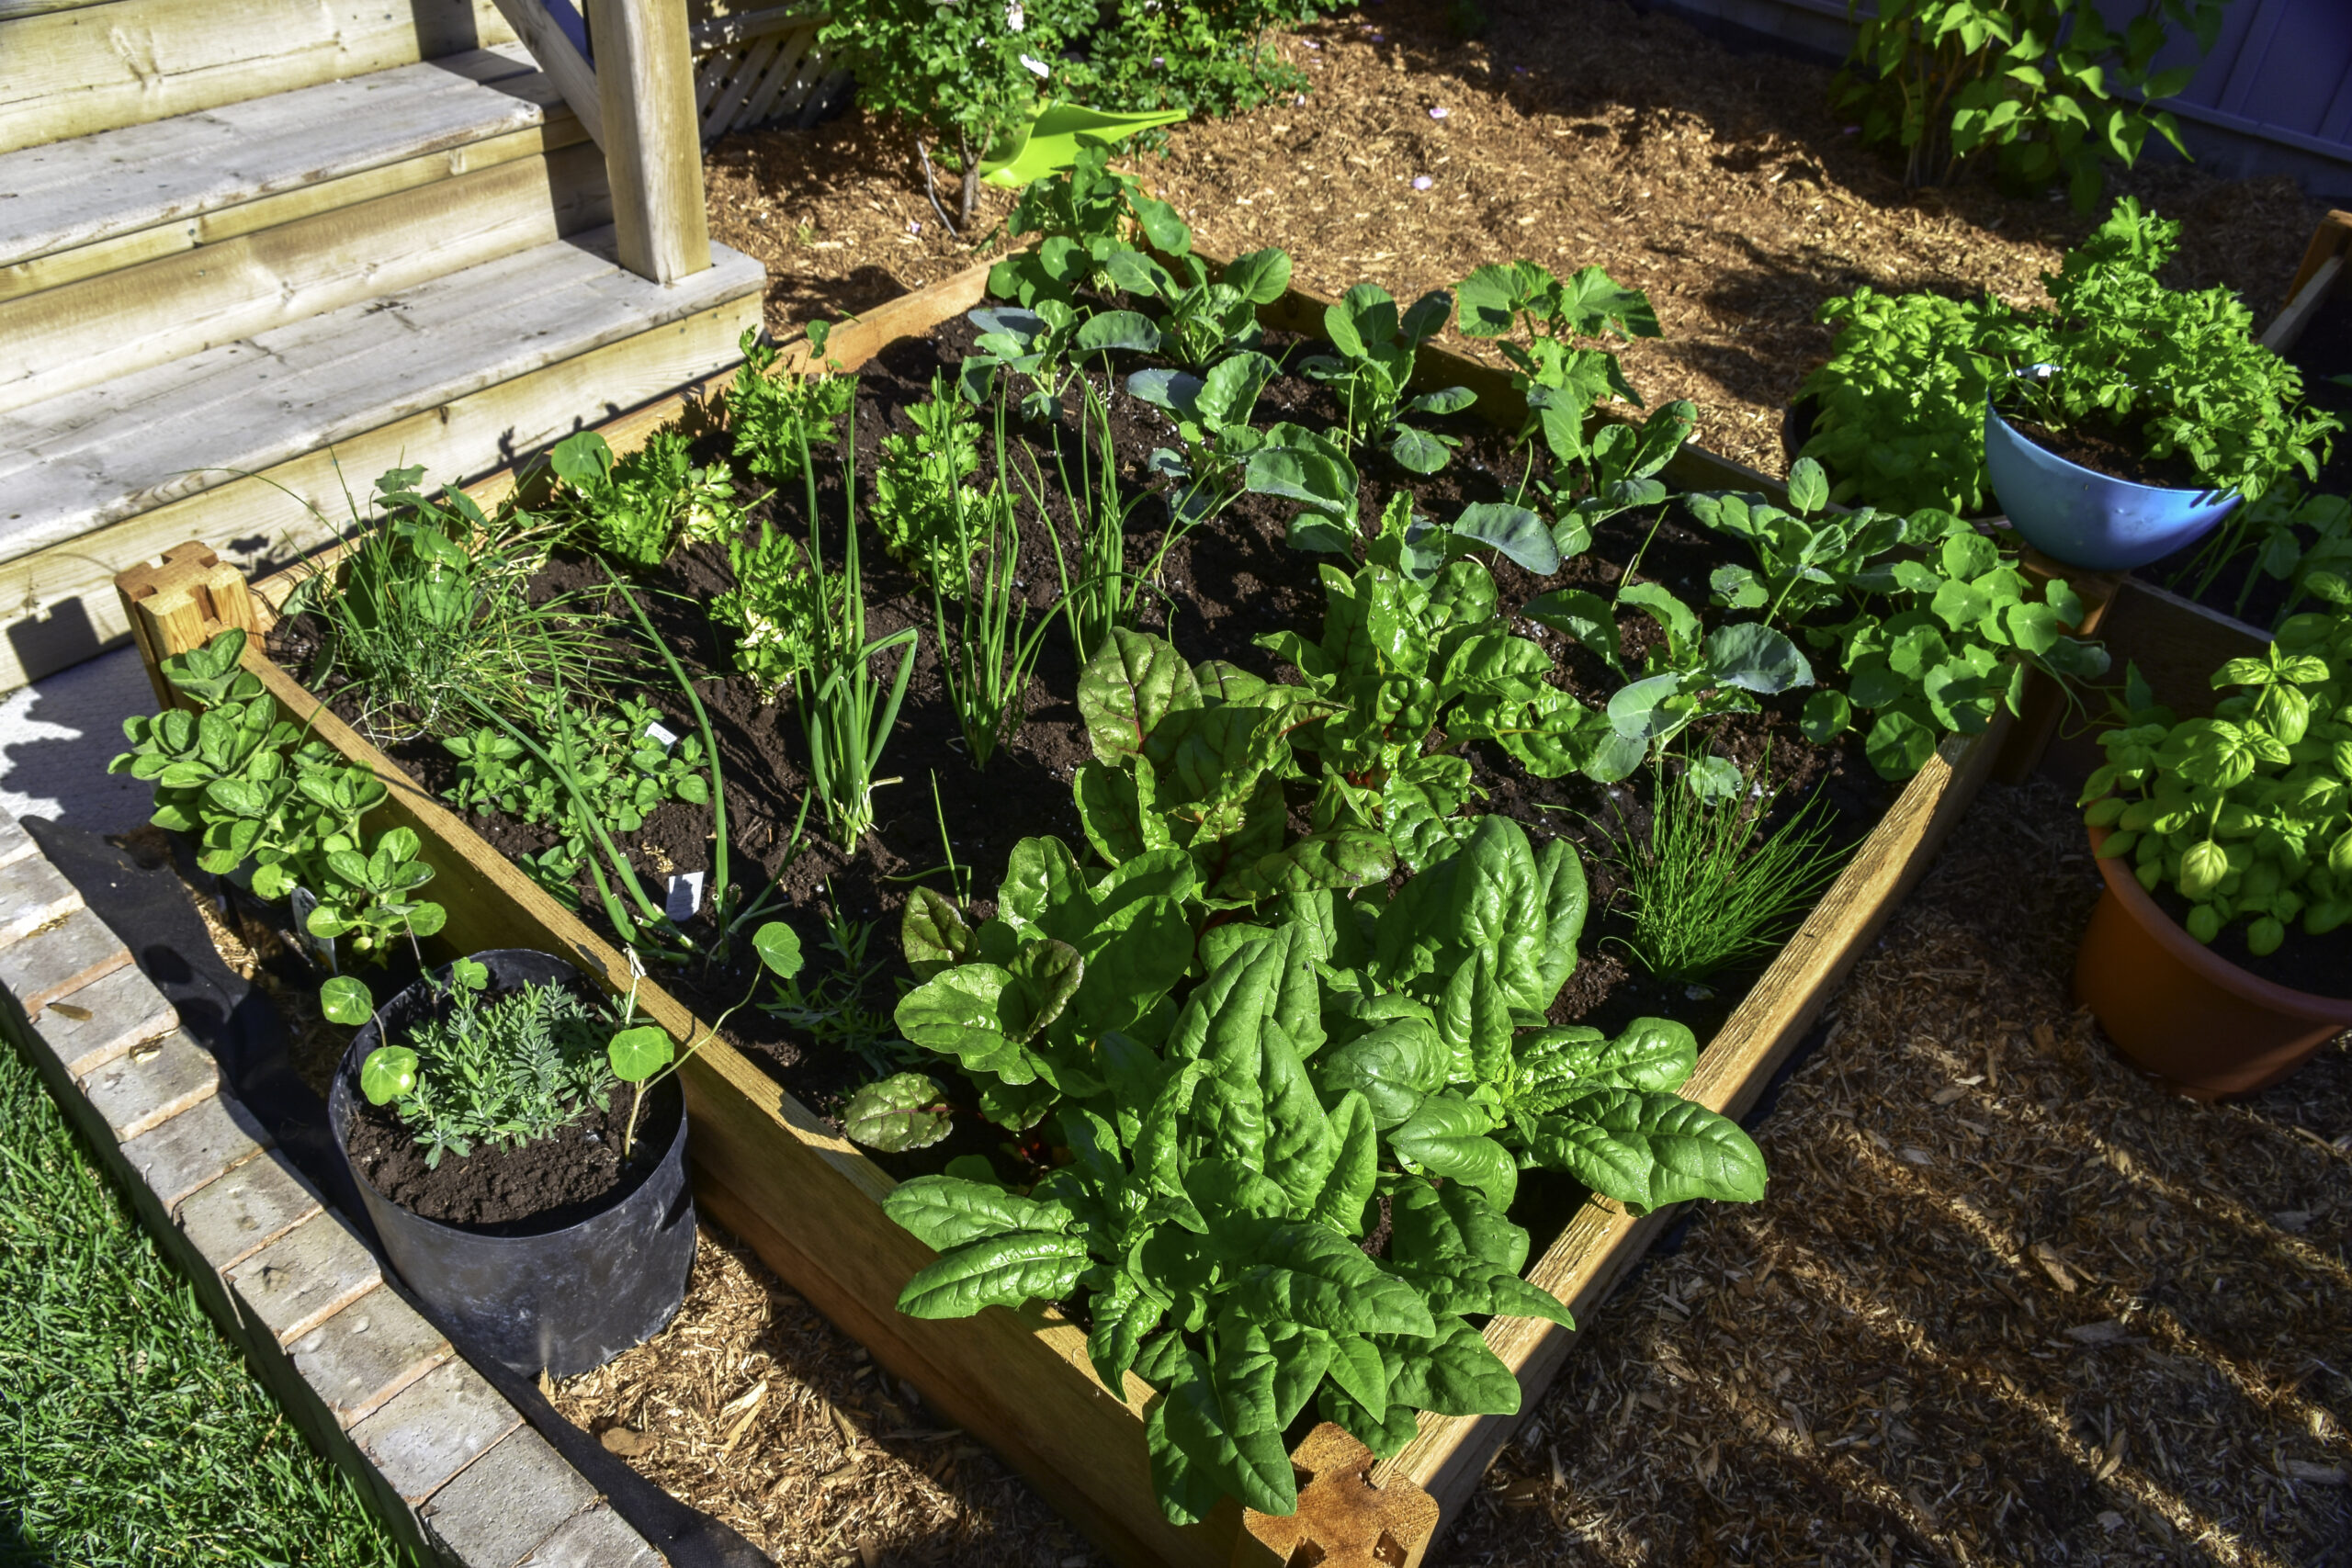
Although we’ve really enjoyed the 50-60, even 70 degree weather this fall, it’s a little weird to be wearing shorts in Virginia in December. Last night was one of the first real reminders of what we’re in for this winter, a hard frost. Though scraping your windshields in the morning can be quite a pain, the delicate, cold crystals really made our herb test garden glitter this morning. So, goodbye short sleeves and screen doors, we’ll pack you away until mid March. Hello, long johns and indoor herb gardening! 

Savory Beef Stew Recipe

With these cold winter nights there is nothing better than to light a fire, open a bottle of a nice deep, dark red wine, slice up a warm loaf of crusty bread and dip into a hearty bowl of Savory Beef Stew. Here’s one we suggest!

Beef:  Make sure you are getting a cut that is ‘made’ for stews. 1 to 1 ½ pounds should do it.

Leeks:  I like to use leeks instead of onions, but either one is fine.  Leeks just have a subtler flavor.  1 leek or onion, chopped.  

Carrots: 1 cup of chopped carrots

Garlic: 2 – 3 cloves chopped fine

Mushrooms:  1 cup of coarsely chopped Baby Bella or Shitake 

Potatoes:  I’m sort of moving away from potatoes these days, and a big fan of Sweet Potatoes. Or I suggest using Yukon Golds.  A cup of cubed Tomatoes?  Depends on your taste.  Sometimes I’ll add, and sometimes I won’t.  In any event, use a 15 oz can of GREAT quality chopped tomatoes.  Better yet, use your own!  These should be added when you pour in the broth.

Broth:  You can use beef, mushroom or vegetable broth.  I usually use mushroom broth and one container will do.  If you need more liquid, add a bit of water.

I do like salt and pepper, but that really is ‘to taste’.  I’ve been using red peppercorns lately and really happy with the result. You can toss just about anything else into this stew, but I like to keep it clean and simple.  That way, the flavors of the herbs really stand out.  

Don’t Forget To Add Herbs!

Herbs:  honestly, almost any savory herb works in this stew.  I’ve got a lot of dried concoctions from my fall harvest, and I’ll toss in my Herbs de Provence and add extra Bay and Thyme.  Marjoram works … oregano.  It’s really up to you and your palate but don’t be shy!

    Cooking Instructions

    Olive oil in the bottom of the pan heated to medium low and toss in the meat.  A lot of recipes call for the meat to be tossed in flour, but that seems to ‘gum up the works’.  Just allow the meat to brown slowly.  Stir around a bit.  Once the pieces are nice and brown, toss in the garlic, leeks and carrots and potatoes and let them cook SLOWLY – low heat and a lot of stirring and patience.  When they are nice, soft and aromatic, toss in the herbs.  Ok, if you need measurements, let’s say a tablespoon of that and a tablespoon of this and then keep it on low heat and allow all those flavors to infuse.  Slow and steady.  Then pop in the mushrooms and cover the whole batch with the broth.  At this point, it’s time to let this baby simmer.  You’ll need to check from time to time, and cover and uncover.  There will come a point where you are getting close to the finish line.  Take a spoon and let the stew cool a bit.  Taste and then decide on the salt and pepper.  It’s at this point that I may decide on an additional ‘punch’ – maybe a bit of Worcestershire Sauce!

    After 2 hours, check the beef.  If it’s easy to shred, you are near the finish line.  Make sure that the broth has a nice, herbal infusion and it’s salted and peppered to your taste.  I usually let it sit, unheated, for a bit and then slowly heat back up right before serving.  Enjoy!

    Container Gardening 101: Tips and Tricks for Starting a Container Garden

    Container Gardening 101: Tips and Tricks for Starting a Container Garden

    Shop Container Gardening Plants

    Have you been dreaming of having a luscious garden where you can grow your plants and herbs, but you’re a little low on space? Then you’re in luck! Container gardening may be the perfect answer to all of your needs.

    You can use just about any type and size vessel to start your container garden, both inside or outside your home. This gardening style is ideal if you have little space and are limited to a small balcony, a tiny yard, or a window with adequate light. 

    Whether you have enough space for one container or if you want to spread them out around your home, the results will be the same. When you use the tips and tricks listed in this article, you will soon have fresh herbs and plants that you can use and enjoy!

    What is Container Gardening?

    Container gardening refers to growing plants of any kind in a container. This gardening style is ideal for those in a temporary living situation like rentals or season homes because you can take your garden with you when you leave!

    Whether your restrictions are based on space, residence, age, or disability, you reap the benefits of gardening and cater your container to your unique situation. As with any garden, you will need to properly care for your garden, so a setup that works for your lifestyle is best.

    Container Materials & Sizes

    There are many different types of containers that you will encounter when choosing a container for your garden. Here is a quick look at the most common container materials you’ll see when you start shopping around.

    • Clay and terracotta look pretty, but they’re breakable and are more prone to damage in freezing temperatures
    • Concrete is sturdy but heavy, so it won’t be as mobile
    • Plastic and fiberglass are lightweight and inexpensive, but they become brittle with age and can leach harmful chemicals into your edible plants
    • Polyurethane foam weigh significantly less than terracotta or concrete, but they’re sturdy in most temperatures, so they’re ideal for plants that will be outside year-round
    • Wood gives you a natural look, and it’s easy to build a wooden planter to fit whatever space you have available
    • Metal is strong, but since it conducts heat, your plants will be prone to any external temperature fluctuations

    For size, use a measuring tape to measure how much space you have available for your container garden and choose containers that will fit the space. Keep in mind that a larger pot will require more soil, which will make it heavier.

    Proper Container Drainage & Preparation

    Once you’ve selected your pots, you’ll need to prepare them for your chosen plants. If you have larger containers, it’s best to prepare them where they will live, so you don’t have to worry about the added weight. Choose a sight with the right amount of light for your selected plants, and set a reminder to water your plant when needed.

    Before you add your soil, find your container’s drainage hole and add a piece of paper towel or newspaper to prevent your dirt from spilling through the hole. Then, add in your selected soil and water the soil, so it’s ready for your plants. 

    Selecting the Right Plants for Your Containers

    When it comes to selecting the right plants for your container garden, first take some time to identify what purpose your garden will serve. Will you be growing edibles? Or are you interested in just growing beautiful plants with colorful flowers or leaves?

    If you plan on container vegetable gardening, talk with gardening professionals to ensure you have adequate growth space and container depth to allow them to thrive. Most fruits and vegetables will require more space, but if you’re growing herbs they will thrive in relatively small areas.

    Plant combination ideas for container gardening can be boiled down to three sections: a thriller, a spiller, and a filler.

    1. Thriller is the star of the show, usually a taller plant with intriguing shapes or dramatic flowers
    2. Spillers anchor the pot and sprawl over the sides of your container
    3. Fillers add mass to your containers and are generally have a textural contrast to the other plants

    Container Gardening Tips

    When it comes to unique container gardening ideas, you must understand how to effectively care for your plant to ensure it thrives through every season. Now that you know where to start, this quick list of tips can help your garden flourish!

    1. Identify where you want to keep your container garden
    2. Monitor the light, temperature, and environment in that area
    3. Find the right container
    4. Ensure your plants can drain excess water
    5. Choose seeds, seedlings, or plants to fit your needs and experience
    6. Use quality potting soil to provide nutrients to your plants
    7. Make sure your plants have the right amount of light and the right temperature
    8. Water your garden at the right time
    9. Fertilize your plants regularly
    10. Harvest, cut down, or trim your plant at the right time

    The care for vegetables, fruits, herbs, and flowers will all vary, so you must understand your desired plants and the care they require. It’s also vital that you check with professionals if you’re unsure what your plant will need to thrive.

    Where to Start

    Are you ready to start your container gardening journey? Start by finding the right space inside or outside your home and measuring to see the type of container you can use. Monitor the amount of light that area receives, and talk to gardening experts if you are unsure how your desired plants will do in that environment. 

    Once you’ve got the details worked out, choose your containers and purchase your plants and soil. Properly input your dirt, moisture, any needed fertilizers, and your plants. Then maintain your care routine to keep your plant thriving.

    For more informative articles about container gardening or gardening in general, visit our blog! We’re passionate about gardening and helping you succeed with your gardening dreams. Learn about us and why we do what we do!

    An Indoor Aromatic Herb Oasis

    An Indoor Aromatic Herb Oasis

    Shop Aromatic Herb Plants

    It’s a proven fact that certain scents can soothe our minds, trigger memories and even help prevent depression, and many of these powerful perfumes come from herb plants. Herbs produce high levels of natural oils which give them their complex aromas and many of these aromatic herbs are grown commercially for the colognes, shampoos and cosmetics that you use.  You can easily grow your own aromatic garden at home.


    Aromatic herbs come in a multitude of scents ranging from earthy, like Patchouli or Rosemary, to sweet, like Sweet Woodruff or Lemon Verbena. Even culinary herbs like Basil, Sage and Thyme have wonderful aromas that often go overlooked, but can benefit your nose as much as your palette. These various scents will naturally freshen your home, giving your space a much more natural and clean feel. 

    You may want to even alternate herbs in different rooms to create a different scent profile for each area. This can easily be done with potted herbs which are simple ways to add dimension and aroma to your home.

    Citrus and Lemon scented herbs are proven to help fight depression, while Eucalyptus extract is often used in many cold remedies for its minty aroma which helps clear respiratory passages. Mints and Horehound are often found in teas, cough lozenges and chest rubs to help alleviate cold and flu symptoms. Incorporating aromatic herbs that have a medicinal effect on your mind and spirit are a terrific way to stay upbeat and healthy during dreary winter months, or relax after hectic work days. 

    Consumers spend millions on aromatherapy products every year, but little do they realize how easy it is to create your own homegrown herbal cosmetics. By growing your own aromatic herbs, you have a constant wealth of anxiety fighting plants at your fingertips.

    The senses of smell and taste are so integral to each other, it’s no wonder that aromatic herbs enhance the flavor of our favorite foods and drinks. Everything from Lemon Thyme cupcakes and Lavender tea to herb rubbed Thanksgiving turkey and Dill sauce for salmon fillets – the sweet and savory smells of herbs delight our palettes and enhance the flavor of our food. Growing your own herbs is the best way to ensure fresh flavor.


    For centuries, people have infused their drinks with herbs for medicinal, spiritual and ceremonial reasons, believing that drinking the aromas released in the tea would give strength, protection, health or held cultural significance. Even in modern times, we still rely on the soothing power of a great-smelling cup of tea to help us relax, heal us when we’re sick and as a way to socialize. 


    Aromatic herbs are a naturally green option for many of the products that we buy every day.  Growing your own herbs at home also gives you control over what you put into your body and offers a nontoxic alternative to high priced cosmetics and air fresheners. Try some potted aromatic herbs around your home this season and create your own stress-free environment. The scent and beautiful foliage of these plants will provide a tranquil, sweet smelling space for you to enjoy.

    Grow Plants Indoors This Fall

    Grow Plants Indoors This Fall

    Order Indoor Plants

    These plants ship in the Fall, pre-order today as plants will not last! 

    Growing Herbs indoors can be easy if all the steps are checked. Sunlight…check. Proper soil…check. Proper watering schedule … check. Unfortunately, not all plants can be grown indoors. 

    The vital component is knowing which herbs do best and which do not.  

    We try to be specific on our site, and try to provide information on why some herbs do well indoors and why others do not.  We always suggest a basil, mint, parsley, and oregano. These are easy to grow and great to start with if this is your first time growing indoors.  

    Rosemary and lavender are a bit trickier but they can be successfully grown indoors remembering that lavenders must dry out well between waterings. This can be tricky in the late fall and winter months, as plants are not in active growth and will not be drinking a lot of water during this time.  

    A note of caution – make sure that you don’t crowd out your plants, as good air flow between plants is a must.

    Put them into a 6” pot and give them sunlight!  You don’t really need fertilizer, but if you must, use a ½ strength dilution and use a fish emulsion. Turn those pots occasionally as you really don’t want them leaning in – just rotate for nice even growth.

    We have a great Infogram on indoor growing that illustrates the importance of light on plants.  It’s helpful information for indoor growing of any plant, and followed up by more tips from us.  

    We want you to have success with indoor growing so you can enjoy fresh cut herbs year round!

    Tips For Growing Herb Plants Indoors

    Tips For Growing Herb Plants Indoors

    LIGHT:

    Light is the most crucial element for their success ~ even direct light is a challenge in the winter when intensity is reduced.  Your herbs will need at least 6 to 8 hours of indirect sun a day (for the most light needy herbs, the ones that say ‘bright light’ or ‘full sun’).  There are those that recommend acclimating your plants to lower light by gradually adjusting them to lower light conditions.  Great idea, but ‘ain’t going to happen’ in my case.  My space gets morning and afternoon sun, so I am lucky in that we are talking 8 hours per day.  You can use grow lights, but since I have no experience with them, a Google search is advised.  You are going to see a few changes in the plants due to this decrease in light:  your herbs may drop a few leaves.  The plant is actually shedding its more inefficient leaves by producing more efficient leaves higher up, closer to the light source.  The plant may get a big leggier as it reaches for the light.  I recommend that you turn the plant periodically so that it receives light on all sides;   you’ll know it is time as the plant will ‘lean toward the light’.

    WATER:

    ‘Not too much, not too little, just right’.  That is hard when they come indoors.  The really trick is to find that balance.  In general, begin to water LESS often and MORE thoroughly.  Make sure that the soil is dry to the touch before watering, and when you water, make sure that the water runs out of the pot.  Drainage is key, so make sure that you use a well-draining pot.  My favorite pots are your run of the mill, red clay pot.  If you plants are small, a 6” pot will be perfect.  And, make sure that you are using a quality potting soil.  Not making a ‘plug’ for one soil over another, but Miracle Grow makes a good indoor mix that we’ve used for a few years.

    [wps_products collection="Oregano Plants" items_per_row="4" title_color="#6BBEE7" show_featured_only="true"]

    FOOD:

    Although we aren’t big promoters of fertilizer ‘in the field’, we do recommend a nice supplementary feeding when your plants are confined to a pot, growing indoors.  Again, just our recommendation ~ a top quality fish emulsion every 2 weeks when the plants are in their ‘grow phase’.  Stinky but effective!

    PESTS AND DISEASES:

    No one wants to think that they are harboring these ‘nasties’ but you’ll never know what can be lurking inside.  Actually, some of these pests may just piggyback on your plants as they come home to roost.  Bottom line:  be vigilant.  I used to wait to act, but now I’m encouraging everyone to ‘be proactive, not reactive’.  Herbs are more susceptible to common pests when growing indoors, so keep your eyes open for whiteflies, spider mites, aphids, mealy bugs and the WORST of all – scale insects!  I’ve begun a routine of regular spraying with an insecticidal soap.  If it works in the greenhouse, it should work on my sun porch.  There are a number of safe and effective products out there, so take a look.

    [wps_products collection="Mint Plants" items_per_row="4" title_color="#6BBEE7" show_featured_only="true"]

    ACCEPTING THE INDOOR CHALLENGE:

    I’ll be the first to admit it:  growing herbs indoors is not as easy as growing them outdoors.  But, rest assured, it can be done.  Since I have a lot of greenhouse space, plenty of light and water and 24/7 attention, I never felt the need to grow them indoors, at home.  But, over the years, as your questions about indoor growing became more numerous and specific, I began to grow more and more of them in our bright little ‘life of it’ room (named by my then 6 year old son, who on a cold wintery day, proclaimed that our warm sunny haven was ‘the life of it’) – not sure where that came from, but it stuck.  Twenty -three years later, it’s still bright and sunny and filled with herbs ferns, gardenias and a lot of citrus trees and bushes.

    Our room is glass, on three sides, and has an east, south and west exposure;  basically we have a lot of light all day.  We have an old fashioned radiator backed up by a small baseboard electric heater.  I am always out there, watering, cleaning, trimming and keeping a sharp eye out for any potential pests.  So, the basics: lightheatwater and lots of attention.  I do a weekly spraying with a ‘safe’ pesticide made from … herbs!

    The second vital component is knowing which herbs do best indoors.  We try to be specific on our site, and try to provide information on why some herbs do well indoors and why others should not be grown indoors.  Do yourself a favor and take our advice.  

    Start small and try to pick three or four of your favorites – the ones you will use.  I’d suggest mintparsleyoregano and thyme.  Rosemary and lavender are a bit trickier but they can be successfully grown indoors remembering that lavenders must dry out well between waterings.  A note of cautions – make sure that you don’t crowd out your plants, as good air flow between plants is a must.

    [wps_products collection="Easy to Grow Herbs" items_per_row="4" title_color="#6BBEE7" variant_button_color="#6bbee7" show_featured_only="true"]