by Herb Exchange | Oct 19, 2020 | Containers |
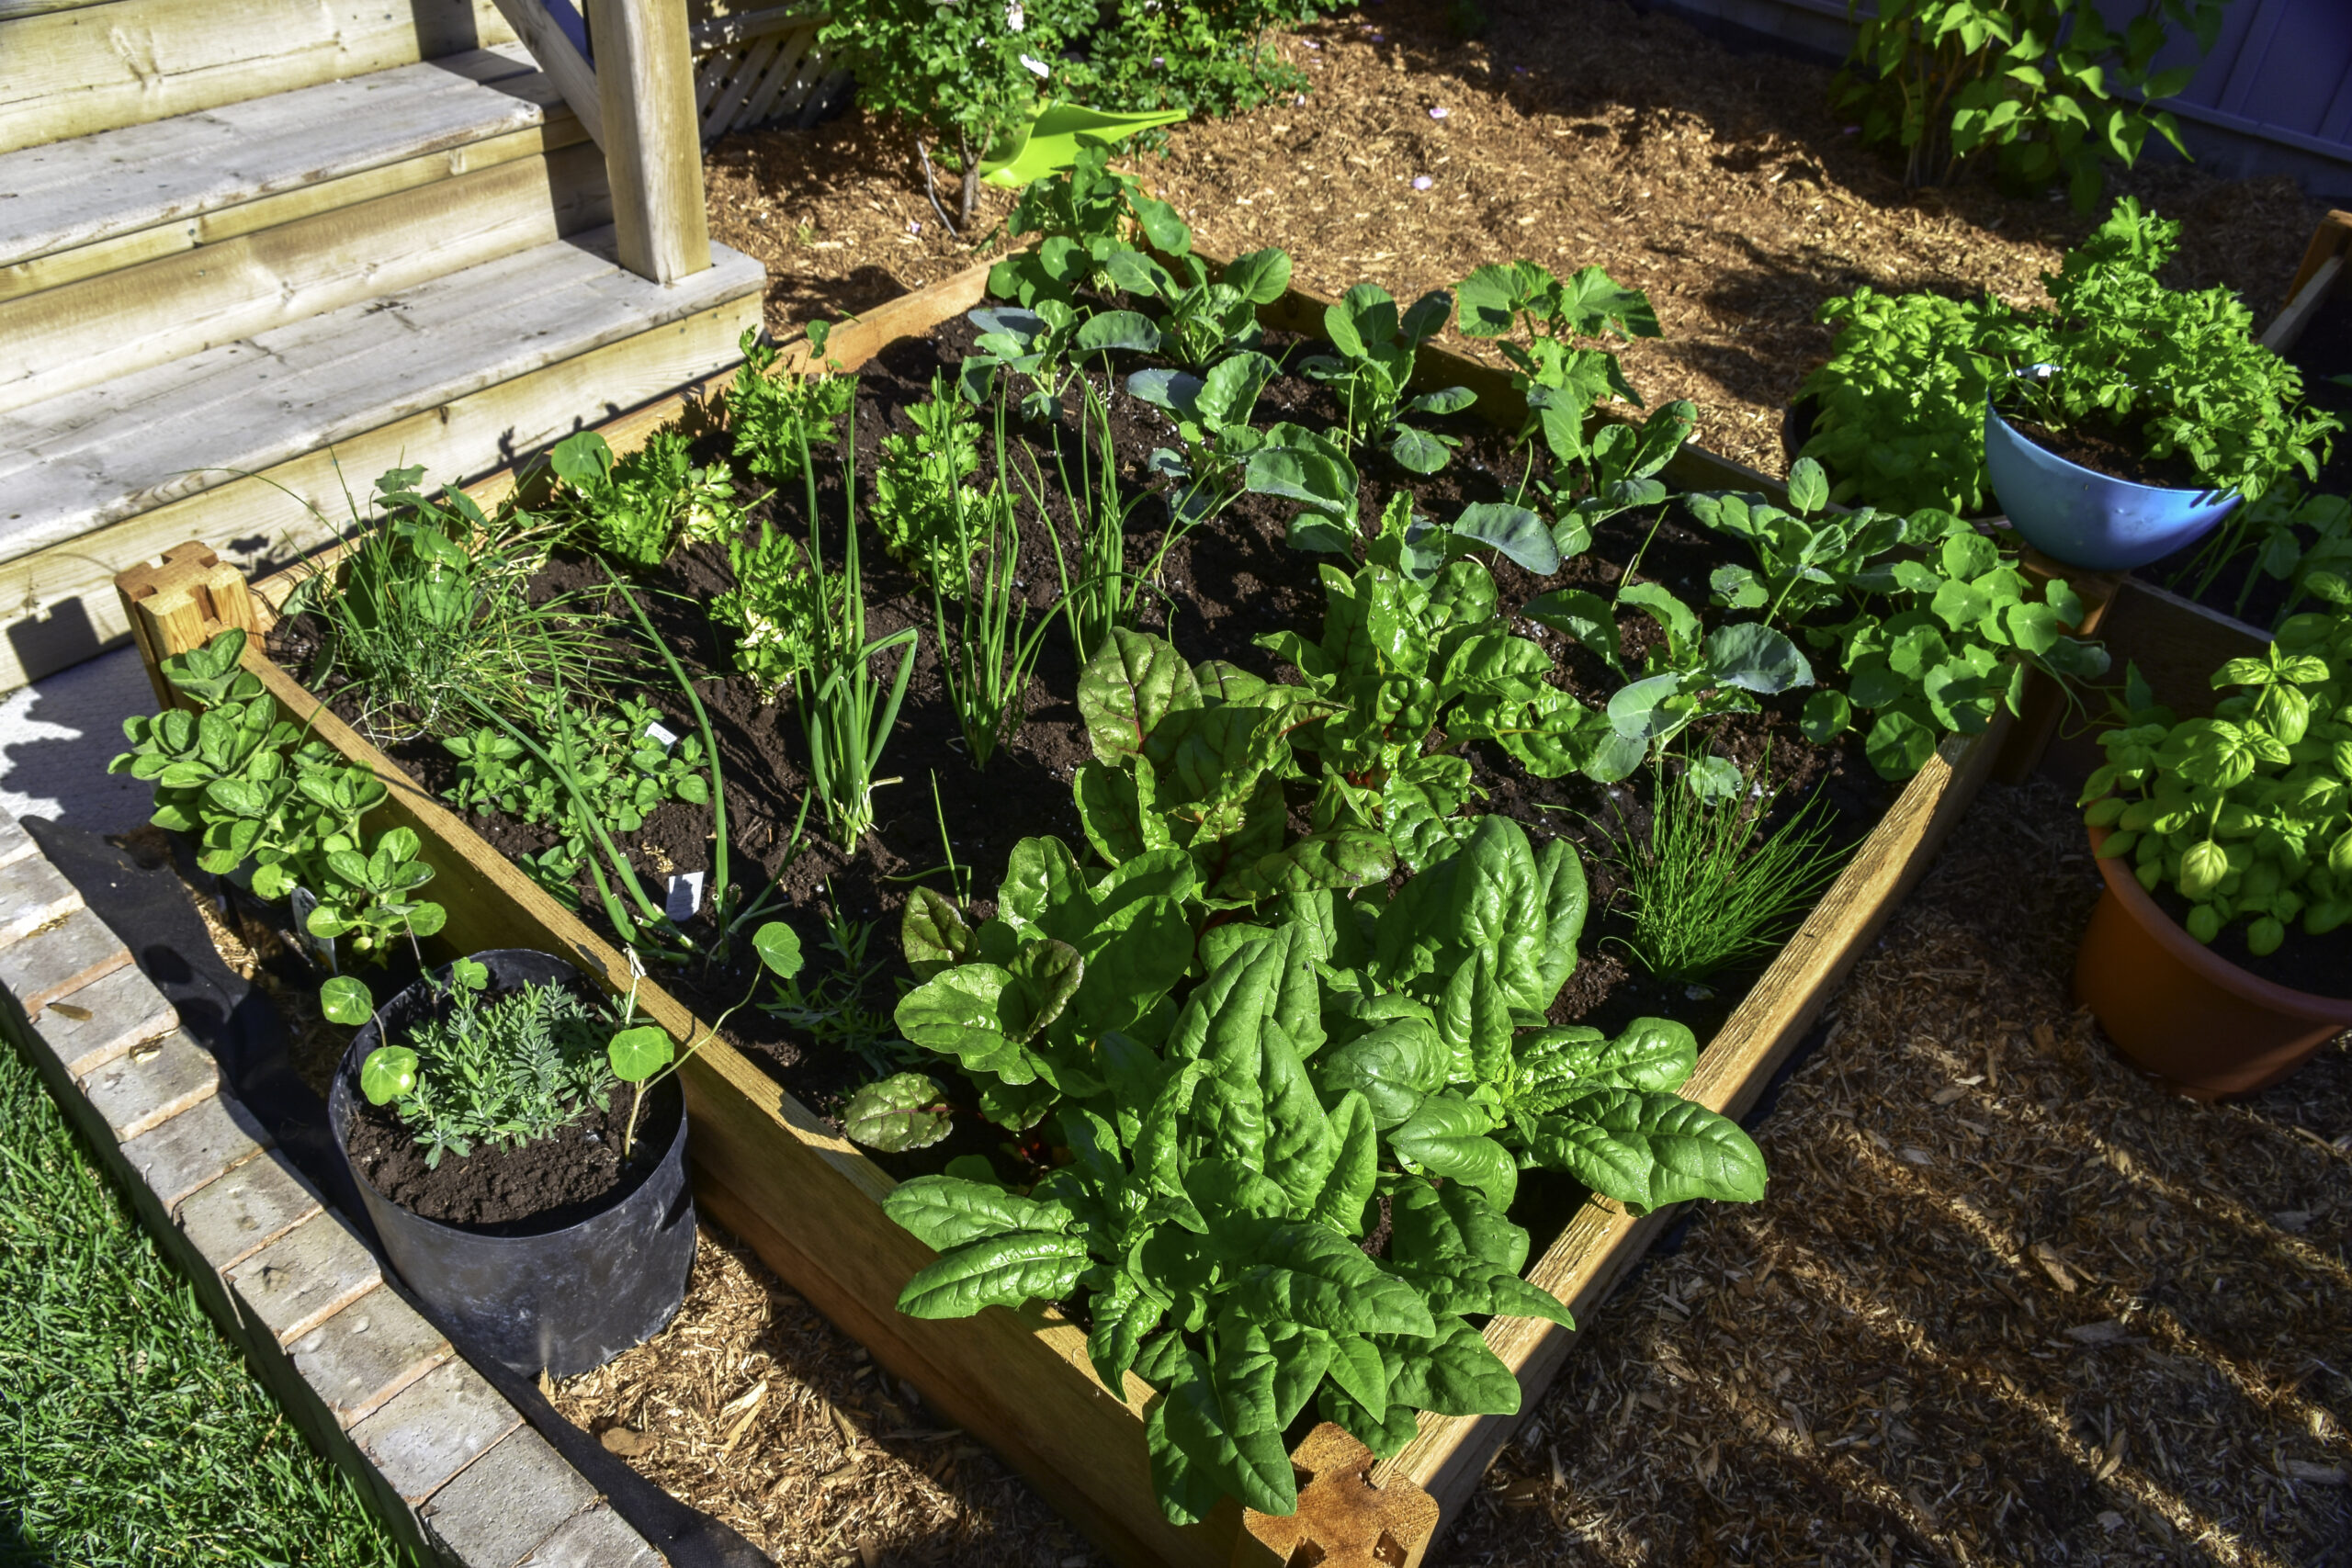
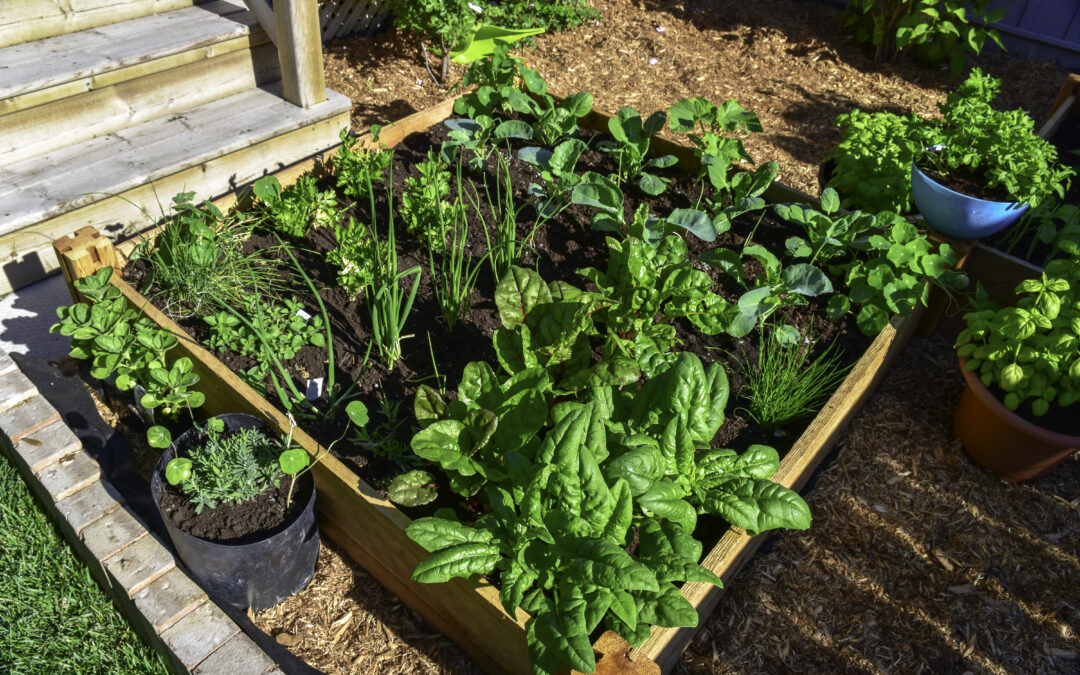
Have you been dreaming of having a luscious garden where you can grow your plants and herbs, but you’re a little low on space? Then you’re in luck! Container gardening may be the perfect answer to all of your needs.
You can use just about any type and size vessel to start your container garden, both inside or outside your home. This gardening style is ideal if you have little space and are limited to a small balcony, a tiny yard, or a window with adequate light.
Whether you have enough space for one container or if you want to spread them out around your home, the results will be the same. When you use the tips and tricks listed in this article, you will soon have fresh herbs and plants that you can use and enjoy!
What is Container Gardening?
Container gardening refers to growing plants of any kind in a container. This gardening style is ideal for those in a temporary living situation like rentals or season homes because you can take your garden with you when you leave!
Whether your restrictions are based on space, residence, age, or disability, you reap the benefits of gardening and cater your container to your unique situation. As with any garden, you will need to properly care for your garden, so a setup that works for your lifestyle is best.
Container Materials & Sizes
There are many different types of containers that you will encounter when choosing a container for your garden. Here is a quick look at the most common container materials you’ll see when you start shopping around.
- Clay and terracotta look pretty, but they’re breakable and are more prone to damage in freezing temperatures
- Concrete is sturdy but heavy, so it won’t be as mobile
- Plastic and fiberglass are lightweight and inexpensive, but they become brittle with age and can leach harmful chemicals into your edible plants
- Polyurethane foam weigh significantly less than terracotta or concrete, but they’re sturdy in most temperatures, so they’re ideal for plants that will be outside year-round
- Wood gives you a natural look, and it’s easy to build a wooden planter to fit whatever space you have available
- Metal is strong, but since it conducts heat, your plants will be prone to any external temperature fluctuations
For size, use a measuring tape to measure how much space you have available for your container garden and choose containers that will fit the space. Keep in mind that a larger pot will require more soil, which will make it heavier.
Proper Container Drainage & Preparation
Once you’ve selected your pots, you’ll need to prepare them for your chosen plants. If you have larger containers, it’s best to prepare them where they will live, so you don’t have to worry about the added weight. Choose a sight with the right amount of light for your selected plants, and set a reminder to water your plant when needed.
Before you add your soil, find your container’s drainage hole and add a piece of paper towel or newspaper to prevent your dirt from spilling through the hole. Then, add in your selected soil and water the soil, so it’s ready for your plants.
Selecting the Right Plants for Your Containers
When it comes to selecting the right plants for your container garden, first take some time to identify what purpose your garden will serve. Will you be growing edibles? Or are you interested in just growing beautiful plants with colorful flowers or leaves?
If you plan on container vegetable gardening, talk with gardening professionals to ensure you have adequate growth space and container depth to allow them to thrive. Most fruits and vegetables will require more space, but if you’re growing herbs they will thrive in relatively small areas.
Plant combination ideas for container gardening can be boiled down to three sections: a thriller, a spiller, and a filler.
- Thriller is the star of the show, usually a taller plant with intriguing shapes or dramatic flowers
- Spillers anchor the pot and sprawl over the sides of your container
- Fillers add mass to your containers and are generally have a textural contrast to the other plants
Container Gardening Tips
When it comes to unique container gardening ideas, you must understand how to effectively care for your plant to ensure it thrives through every season. Now that you know where to start, this quick list of tips can help your garden flourish!
- Identify where you want to keep your container garden
- Monitor the light, temperature, and environment in that area
- Find the right container
- Ensure your plants can drain excess water
- Choose seeds, seedlings, or plants to fit your needs and experience
- Use quality potting soil to provide nutrients to your plants
- Make sure your plants have the right amount of light and the right temperature
- Water your garden at the right time
- Fertilize your plants regularly
- Harvest, cut down, or trim your plant at the right time
The care for vegetables, fruits, herbs, and flowers will all vary, so you must understand your desired plants and the care they require. It’s also vital that you check with professionals if you’re unsure what your plant will need to thrive.
Where to Start
Are you ready to start your container gardening journey? Start by finding the right space inside or outside your home and measuring to see the type of container you can use. Monitor the amount of light that area receives, and talk to gardening experts if you are unsure how your desired plants will do in that environment.
Once you’ve got the details worked out, choose your containers and purchase your plants and soil. Properly input your dirt, moisture, any needed fertilizers, and your plants. Then maintain your care routine to keep your plant thriving.
For more informative articles about container gardening or gardening in general, visit our blog! We’re passionate about gardening and helping you succeed with your gardening dreams. Learn about us and why we do what we do!
by Briscoe White | Nov 11, 2016 | Containers, DIY Gardening, Gardening, Growing, Herbs, Miscellaneous, Urban Gardening |
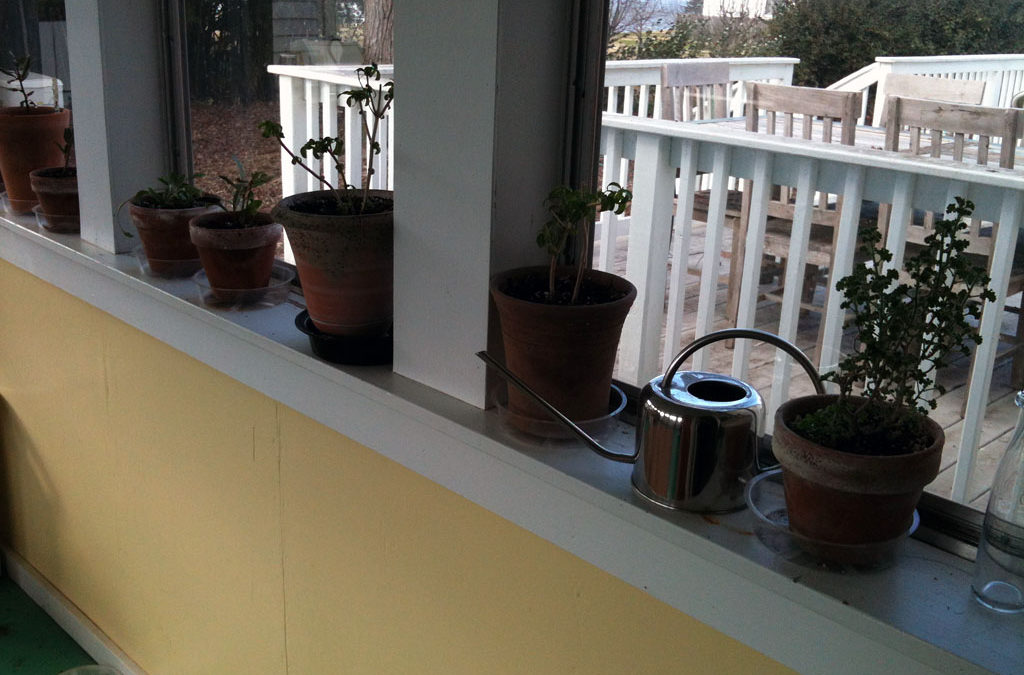
To keep our test garden growing strong through the winter, we’ve moved some of our favorite herbs indoors. Our sun porch has become a haven for potted herbs and one of our favorite places to take a break or eat our lunches. Receiving lots of sunlight, our potted garden has been thriving throughout this mild winter here in zone 7. Watering about once a week, our plants are showing lots of healthy new growth and it’s not even spring!
What started as a project to see what temperature and lighting worked best for these potted herbs, has now developed into a lovely place to relax and find a moment of peace during the day. Having these plants close at hand makes cooking and crafting even more enjoyable. Bring natural beauty and energy to your home with two of our favorite fragrant and functional potted herbs!
(more…)
by Kenan White | Apr 17, 2013 | Containers |
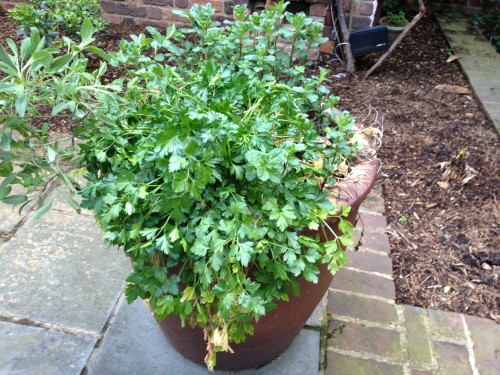
I’d like to take this opportunity, as many people throughout the country still await warmer weather before they can really start digging into the earth, to discuss my experience with container grown herbs . . .up close and personal.
It’s is so easy to plant a potted herb garden that many actually prefer to do so, instead of trying to find space amongst the vegetables. Plus, this makes it easier to place the garden right outside the kitchen, which also makes the home cook happy.
In order to make your own potted herb garden, use pots that are at least six inches in circumference, potting soil, compost, and a trowel. While some like to do smaller, individual pots, I like a larger potted garden, where plants can mingle. I recommend a large container. Mine is almost thirty inches in diameter, three-and-a-half feet tall, and sits tight against the house where it is well insulated.
Once you plant the first crop, it will be easier to maintain. I have had one outside for the past 3 years, and I only need to fill in a few plants each year. In my area, we are considered Zone 7. Herbs such as Garden Sage, Italian Parsley, Kitchen Citrus Mint, and Marjoram do very well in this zone and will all survive year after year, if properly cared for. However, there are always those I have to replace each spring. For instance, I need to replace my basil almost every year, and my thyme died this past winter.
As with any garden, there are a few persistent plants that will be more aggressive when fighting for space in the pot. You will have to be brutal with the mint, as it will take over the space if you let it. However, these hardier herbs are also survivors, and I am using parsley almost all year… and, of course, the mint. That’s not such a bad thing as I have discovered the value of minted water (I have a Brita and just keep a sprig or 2 in the bottom to flavor the water).
With your own potted herb garden, similar inspirations will only be a few steps away!
by Kenan White | May 3, 2012 | Books & Design, Containers, Exploring, Gardening, Growing, Herbs, Inspiration, Life on the Farm, Miscellaneous, Recipes |

We had a great time showing James all around the farm- we even sent him home with some potted herb souvenirs!
Last week, our good friend, James Farmer came up for a demonstration on garden to table living and while here, he stayed in the cottage on our farm. We had a wonderful time strolling through the test gardens, talking about his favorite culinary herbs for his infamous Southern recipes, and chatting about country life, gardening and everything in between!
In the greenhouse, James discovered the benefits of Holy Basil and even helped us pot his very own herb garden kit, the James Farmer’s Favorites Herb Collection, where he includes his favorite culinary herbs for making his delicious drinks and dishes.
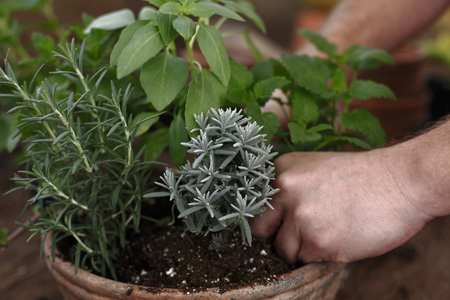
Our newest herb kit, the James Farmer's Favorites Herb Collection was hand picked by James himself!
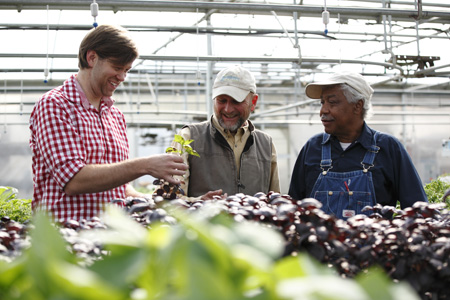
We introduced James to Holy Basil and taught him about its rich history and wonderful medicinal benefits.
When walking through the test gardens, we discussed the investment and versatility that perennial herbs lend. For example, I showed James that more than just a beautiful flower for the garden or in arrangements, Pyrethrum is a natural insect repellent and is used in many organic insecticides.
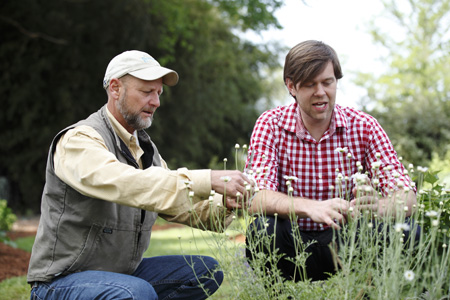
"Pyrethrum is beautiful in the garden or in arrangements, and is also a natural insect repellent used in many organic insecticides."
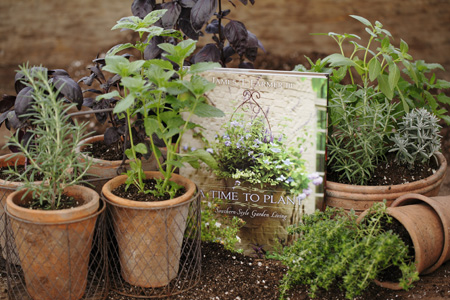
You can purchase James’s book, A Time To Plant: Southern-Style Garden Living and get loads of design tips, recipes and more, AND six of his favorite culinary herbs to create endless concoctions and dishes when you buy the James Farmer’s Favorites Herb Collection and Book!

We had such a wonderful time with James on the farm, we can't wait until he comes for another visit!
We had a such a fantastic time with James and can’t wait for him to come back! For more information on James, or his newest release, Sip and Savor: Drinks For Party and Porch, please visit his website!
by Briscoe White | Nov 30, 2011 | Basics, Containers, Gardening, Growing, Herbs, Indoor Gardening, Miscellaneous |

As the sun began setting here in Zone 7 yesterday, I looked at my watch and couldn’t believe that it was only four o’clock! While the darkness descended around our farm, I thought to myself how depressing the winter months can be for gardeners, especially if they don’t have any garden lights set up. A severe decrease in sunlight plus plummeting temperatures are a bit of a shock after such a long, warm summer. So, what is an avid gardener to do? Bring your herb garden indoors and make your own light! You could even decide to get some street lights (or as people in France would say “Lampadaire exterieur“) that can be placed in your garden so you can keep your herbs out there for just a little bit longer. Until the time comes when it really is that cold and dark that you have no choice to bring them inside.
An ideal indoor lighting setup for growing herbs throughout the winter would be to have a ton of south facing windows with lots of space to line your herbs along the window sills. It might be useful to consider smart home lighting to have better control over your home lighting in these darker periods of the year and works well with this situation. If this scenario isn’t a reality, you can also line your ceiling with fluorescent grow lights to accommodate your indoor oasis while sunlight is scarce. Something like these barn gooseneck lights are also useful, whether wall mounted or ceiling mounted. These provide enough light to grow herbs and are also convenient for home use. Though many herbs may go dormant, like Mints, as per their natural seasonal cycle, artificial lighting can extend their growing season and keep them useful. Most culinary herbs are well suited as indoor potted herbs, like Rosemary, Thyme, Chives, Winter Savory or Garden Sage, and tend to do well with supplemental light. Growing an indoor herb garden is a wonderful way to beat the winter doldrums and will provide you with fresh flavors until spring thaws the ground outside. Until the days grow longer, you can supplement your home’s natural lighting with fluorescent grow lights to keep your herbs growing strong all winter long.
Many herbs tend to get a big leggy under fluorescent lighting, so make sure to keep them pruned well for better growth. Growing herbs indoors can also affect the water levels your plants need, so also pay close attention to the amount of moisture your herbs require to keep them from drying out. The type of pot or container your herb is growing in can also affect the amount of moisture it retains. Terra Cotta pots work well, as most herbs do not need a lot of water and the porousness of the clay allows excess moisture to escape. Mature herbs should be placed a few feet away from the light source, while sprouts may need to stay within a few inches until they get established.
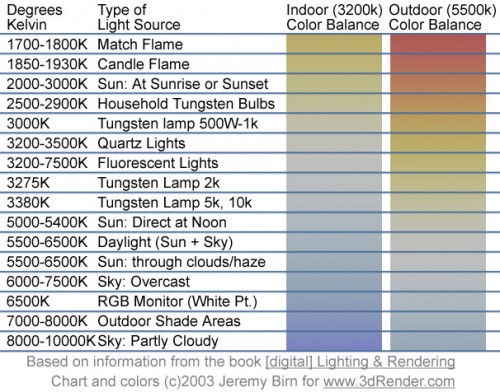
Florescents are more efficient than many other lighting options because they are much brighter and more narrow, and due to lack of surface space, they waste less. If you can afford the space for this endeavor, try lighting that falls between 4000 and 6000 Kelvin, a range that is warm enough to mimic the lighting environment of a greenhouse, without being too hot that it fries your herbs. Color temperature is measured in Kelvins, and is an important characteristic of visible light- especially when we’re talking plants. The lower degree of Kelvin or color temperature, the more warm the lighting feels, and the higher the Kelvin, the cooler the light feels. Think of the difference between cozy warm lighting in your home versus the harsh, cold lighting of your doctor’s office. By choosing fluorescence that falls between 4000 and 6000, you allow for a healthy spectrum of warmth and color for most culinary herbs. (Some of the more tropical or sun loving plants like Stevia or Ashwagandha may take a bulb with a fuller spectrum of light). Many herbs need at least fourteen hours of light a day to stay happy indoors, and getting a timer for your lighting may be a good idea to help with this, as well as prevent them from running too long and wasting energy.
For a better idea of how the Kelvin system works, see the chart from 3drender.com below :
by Briscoe White | Mar 23, 2011 | Basics, Books & Design, Containers, Gardening, Growing, Herbs, Indoor Gardening, Inspiration |
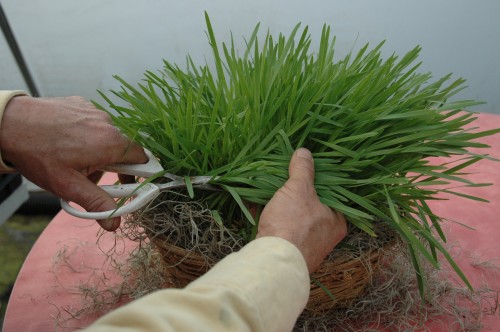
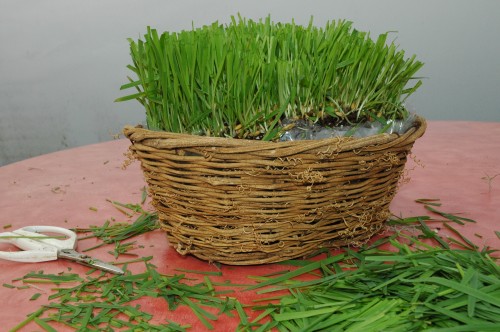
The grass in your Easter Basket, like the grass in your yard, will need periodic trims. When your grass grows to be about 9” tall, give it a little haircut by holding a clump of blades in one hand and trimming off the tops with pruning shears. Be sure to snip the flat part of the blade, not the more round part of the blade near the base. Periodic pruning will encourage the grass to reinvest its energy into growing stronger, and it helps keep your mini “lawn” in lovely shape. Continue to keep it in a nice sunny window and with frequent watering and regular pruning, your Easter grass will last you long after Peter Cottontail has hopped off down the bunny trail!
